
September’s half over, there are mums at the store and I’m two pies into the season that hasn’t even started yet. You with me? There’s nothing that says “hello, fall” like your favorite pumpkin pie. Here’s what you need to know to make the one on repeat over here.
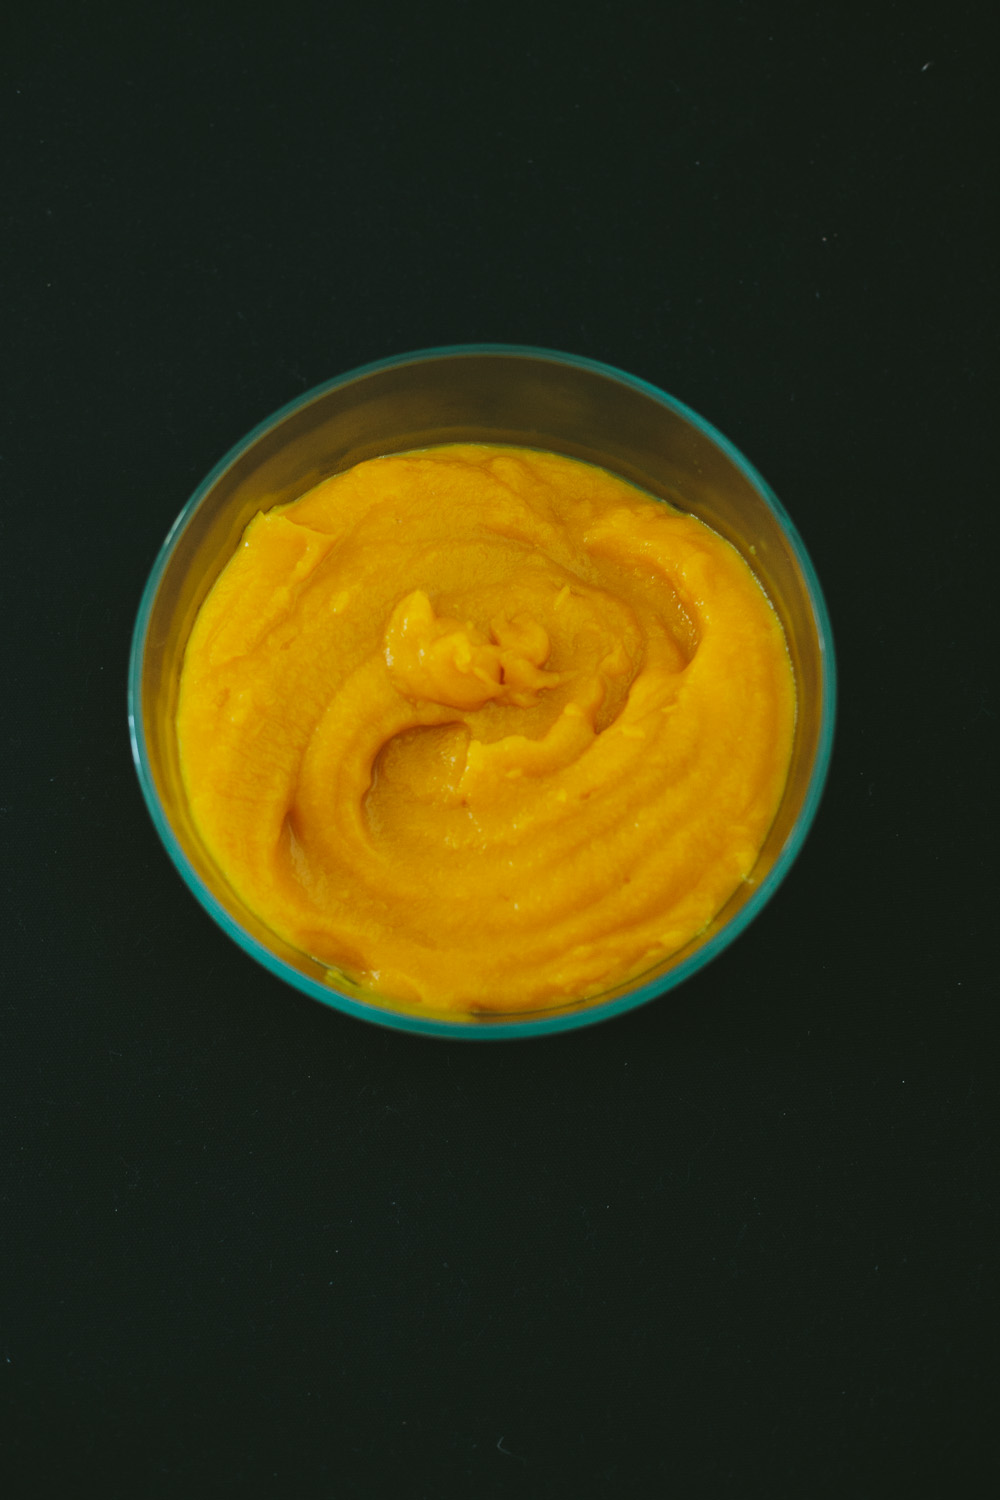
If you ask me, pumpkin pie starts with homemade pumpkin purée. Of course you can use canned purée, nothing wrong with that, but there’s something special about making it yourself. The way the skin softens and the flesh melts; the whipped, velvety texture of the filling fresh out of the blender–it’s like the pie is unfolding before you, asking to be made. And, if you haven’t tasted freshly roasted pumpkin purée, you’re in for a treat! This mixture is the sort of baby food anyone can get behind: naturally sweet, earthy, the prettiest shade of orange.
Which Type of Pumpkin to Use?
For the best flavor, you want to use pie pumpkin, not carving pumpkins. I’m talking about that cute, tabletop variety that looks so festive on the counter. Buy one next time you’re at the store, and use it to decorate your living room until you’re in the mood to bake! Larger pumpkins will also work the same way; you can follow identical instructions for roasting and puréeing them; but they have a higher water content that changes your pumpkin pie filling. Generally speaking, with the larger pumpkins, you’ll have to strain the purée after blending it, letting a lot of the water drain out. Otherwise your filling will be soupy or oddly textured.
Other acceptable options include butternut squash (actually pretty similar to what’s in canned pumpkin!), sweet potatoes or, for a real treat, kabocha squash.
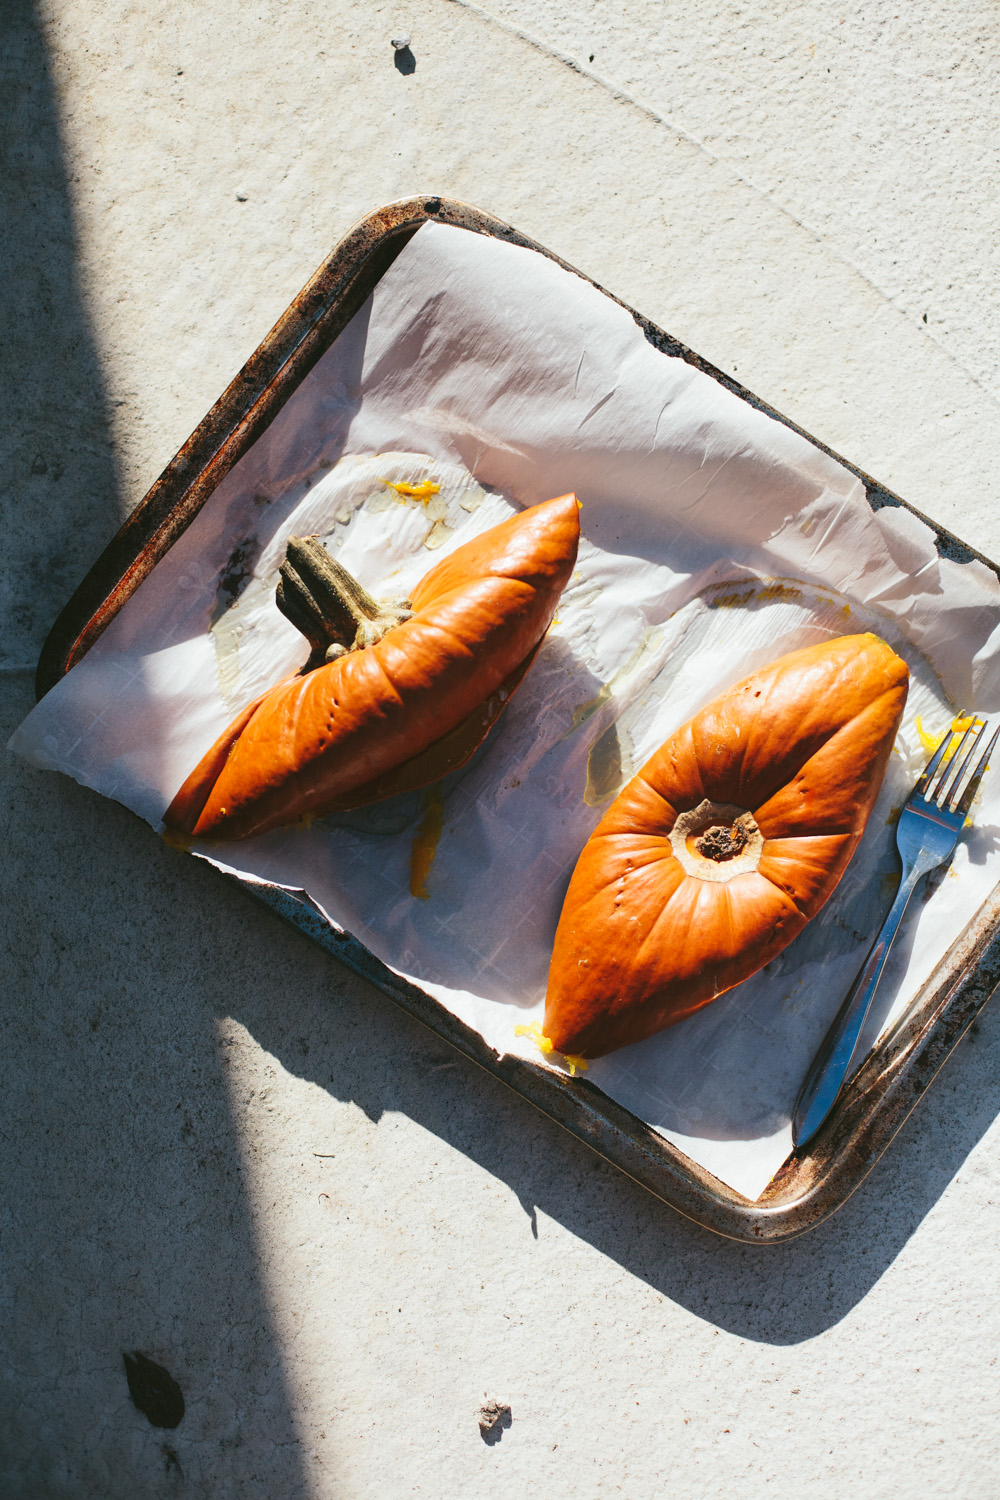
How to Make Pumpkin Purée
Cut your pumpkin in half vertically, and scoop out the insides. Lay the pumpkin, cut sides down, on a parchment-lined baked sheet. Then, bake until the pumpkin is soft enough for a fork to easily pierce through the skin. You can bake at whatever temperature is convenient: 350F, 375F, 400F, etc., and the amount of time will vary based on that heat. When you start smelling pumpkin roasting, it’s time to check it. But, if relying on your nose makes you nervous, you can start testing it with a fork after 30 minutes.
Once it’s soft, remove it from the oven and let it cool on the baking sheet. Scoop out the flesh into a Vitamix or food processor and blend until super smooth. It’s hard to overdo puréeing here. For the sake of pumpkin custard pie, the smoother, the better!
How to Make a Foolproof Pie Crust
Necessity #2 for everybody’s favorite pumpkin pie is homemade pie crust. Of course you can buy a frozen one if you want, nothing wrong with that, but homemade crust takes the pie to another level. Using all butter makes it flaky and flavorful, though you can also sub in cold coconut oil or lard if you’d prefer.
(Remember the pie crust comparison in December? Below is the recipe that won out.)
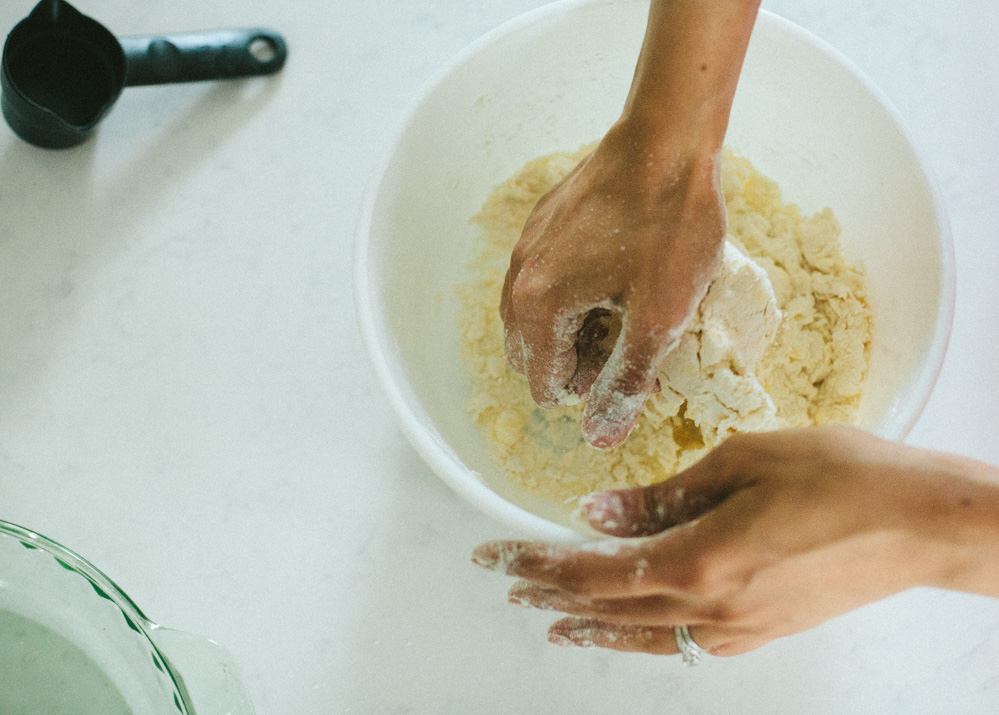
- Combine 1 cup flour and 1/2 teaspoon salt in a bowl.
- Cut in 6-8 TBS cold, cubed butter, working quickly. (We could talk a long time about how much butter to use here; I mix it up. Eight tablespoons gives you the flakiest crust, but it’s hardest to work with, and it often leaks from the pie plate in the oven. Six tablespoons will likely mean you need to add more water, and the crust, still good, will have slightly less butter throughout. Use however much you want, but get the butter broken up throughout. The pieces don’t have to be uniform, just broken up.)
- Add 1/4 cup water. Stir together, then get your clean hands in there and mush, press, scoop, etc., to form it into a ball. If it’s too dry, add a little water. If it’s too wet, add a little flour. The best advice I got on pie crust was to remember you’re in control.
That’s the pie crust dough. You can wrap it and chill it, or you can use it right away. Whenever you’re ready to use it:
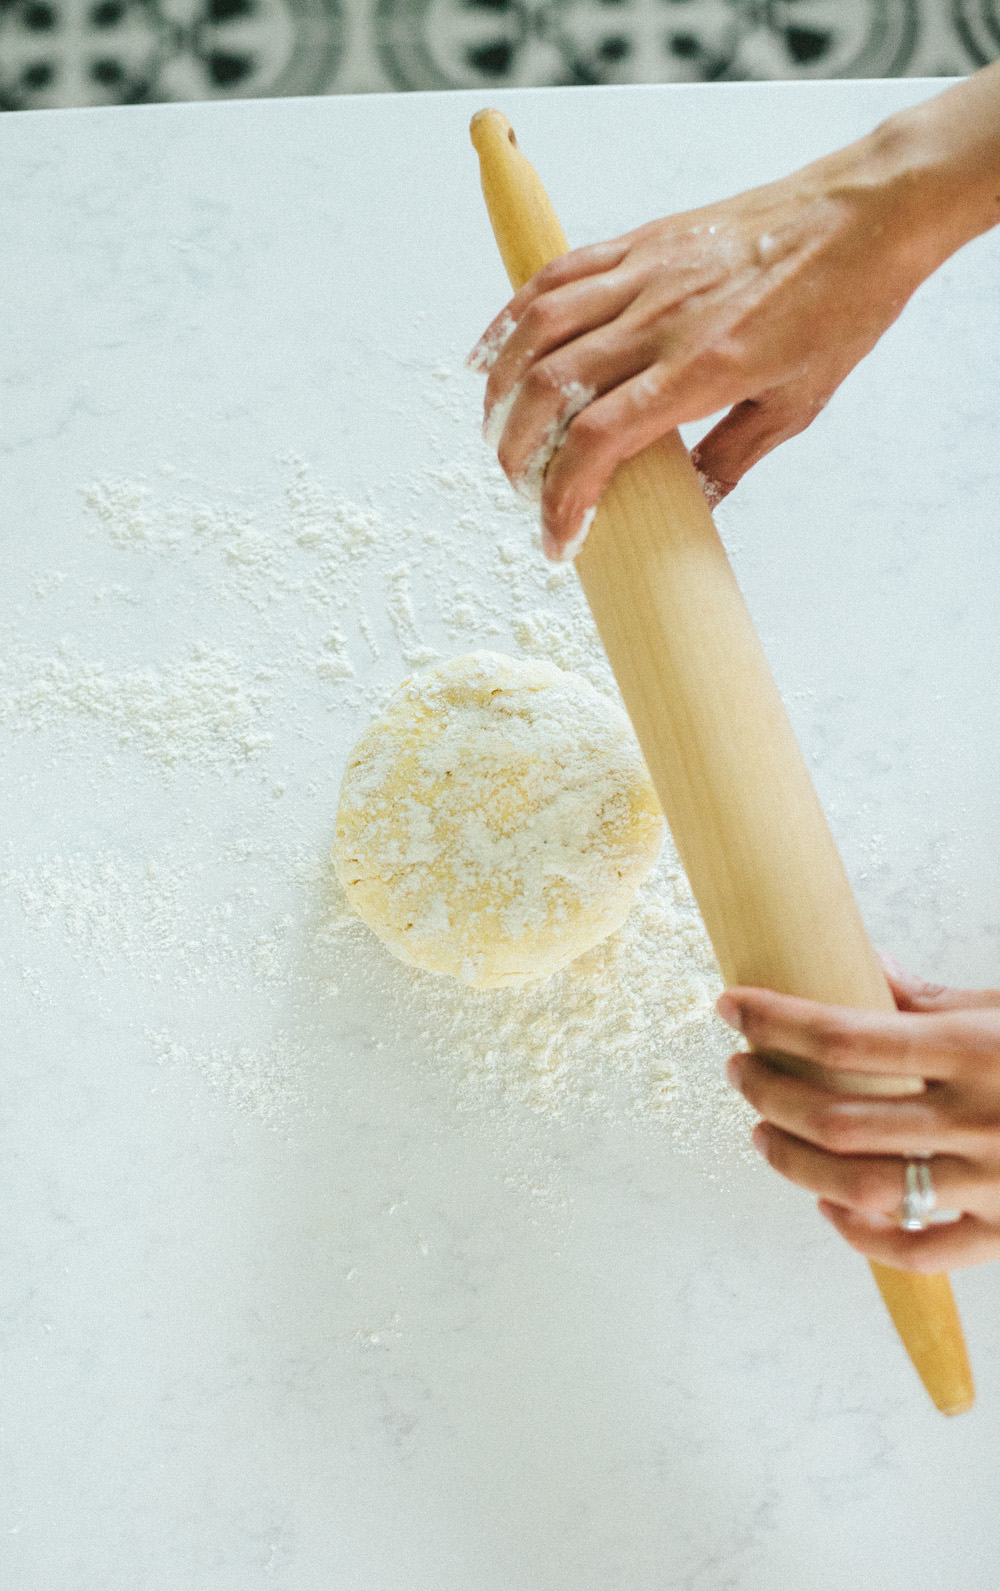
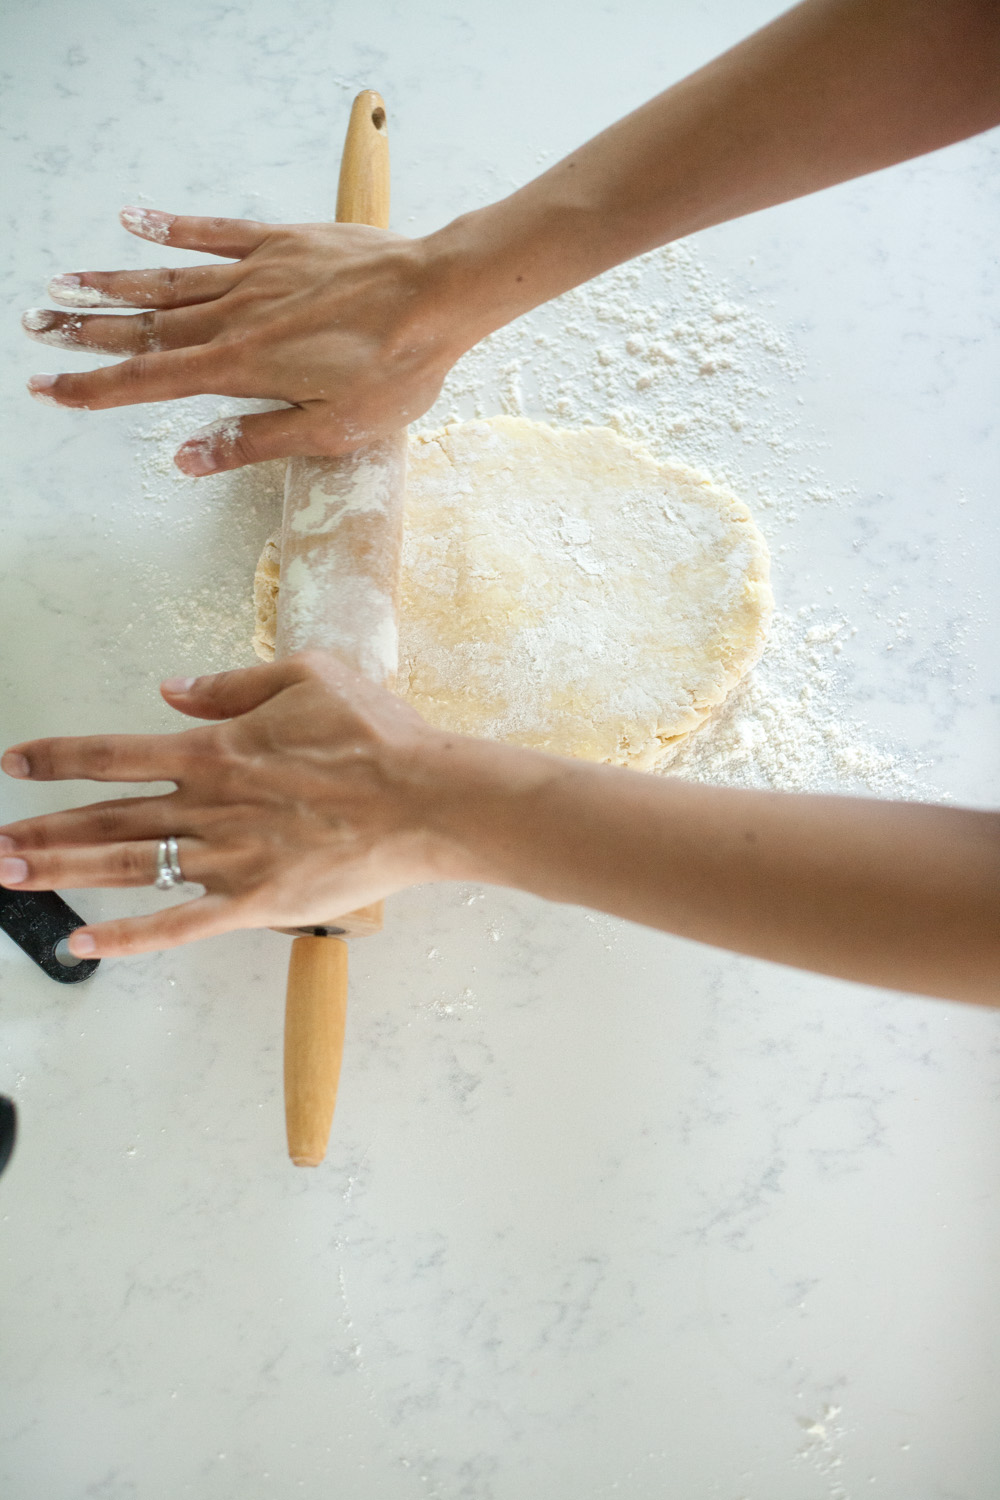
- Flour the counter, set the dough ball on it, flour the ball and flour a rolling pin.
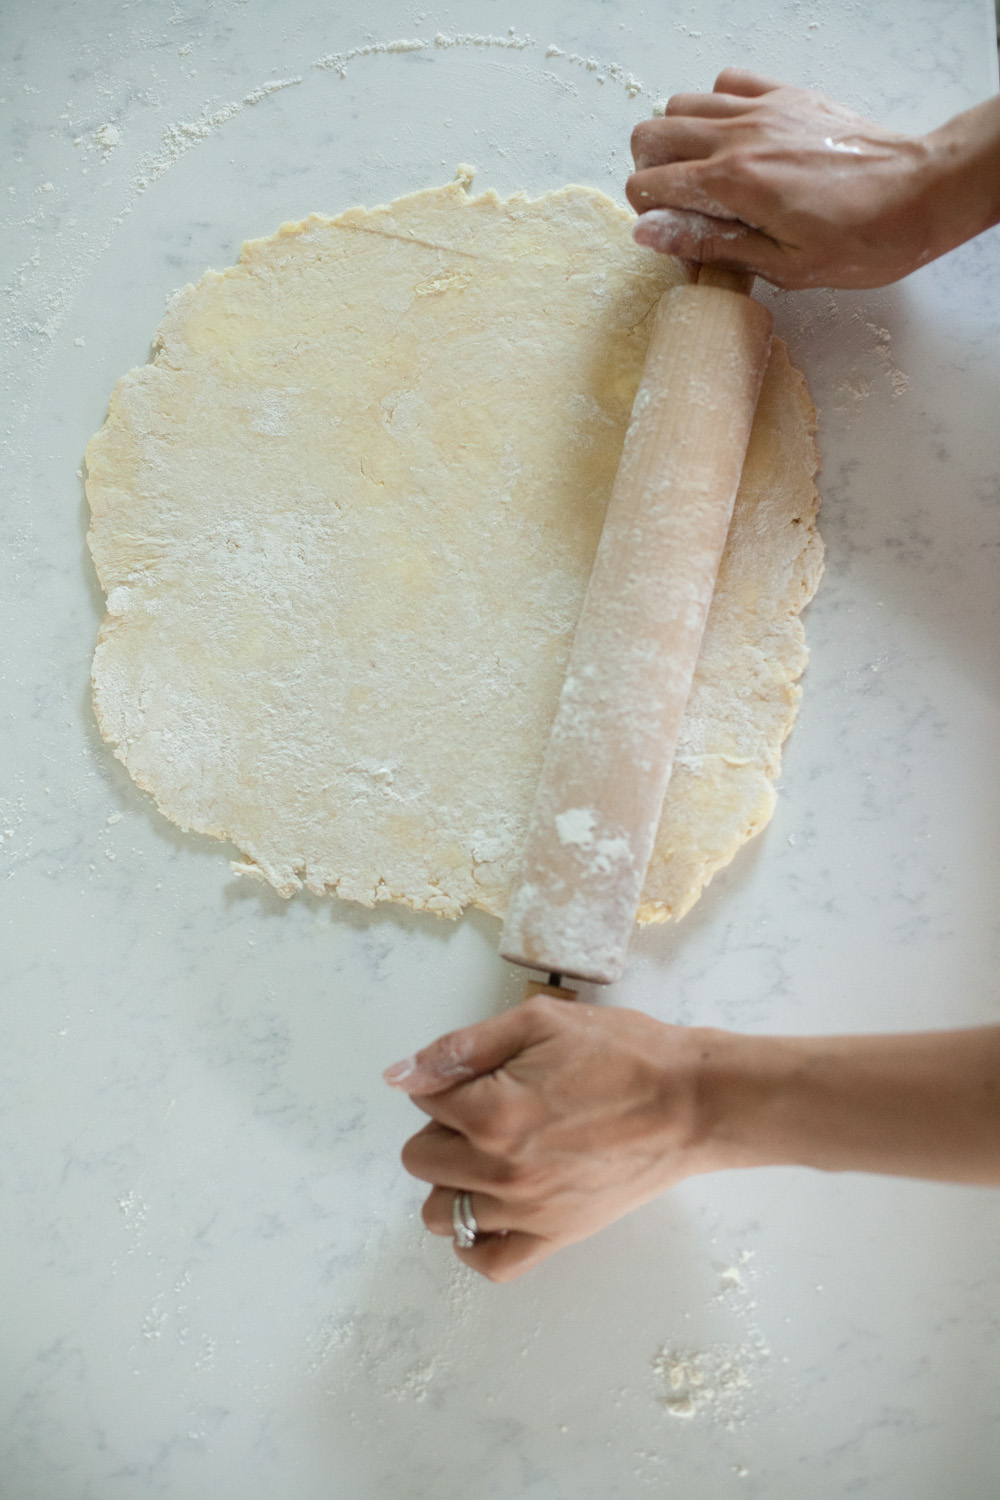
- Roll out the dough, flipping it between rolls to make sure it’s not sticking. Use more flour and/or a bench scraper as needed.
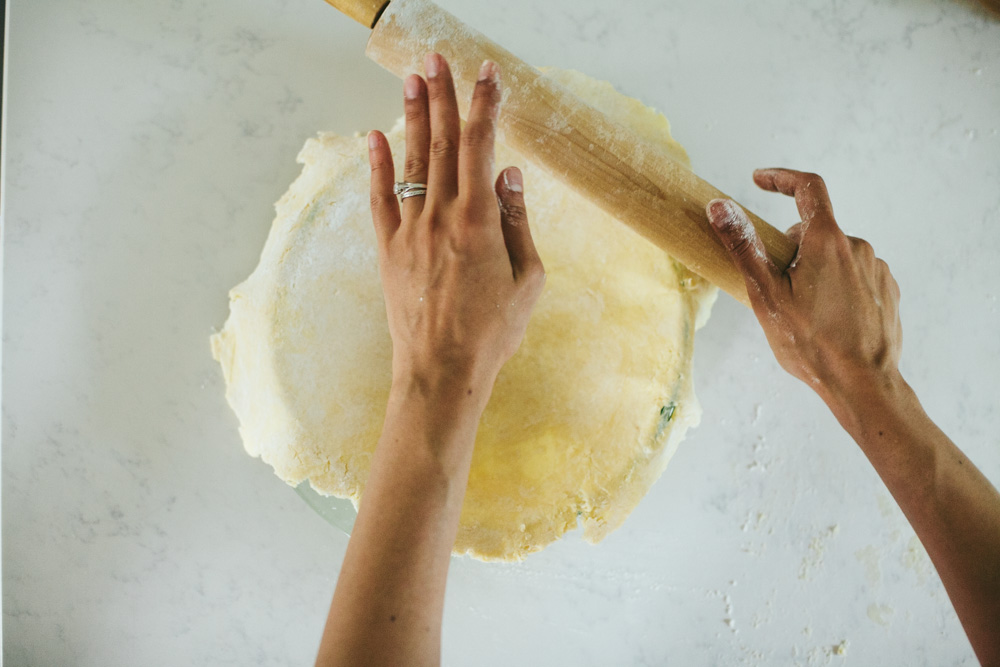
- When the dough is bigger than your pie plate, roll it up on your rolling pin, move the rolling pin on top of the pie plate and unroll the dough.
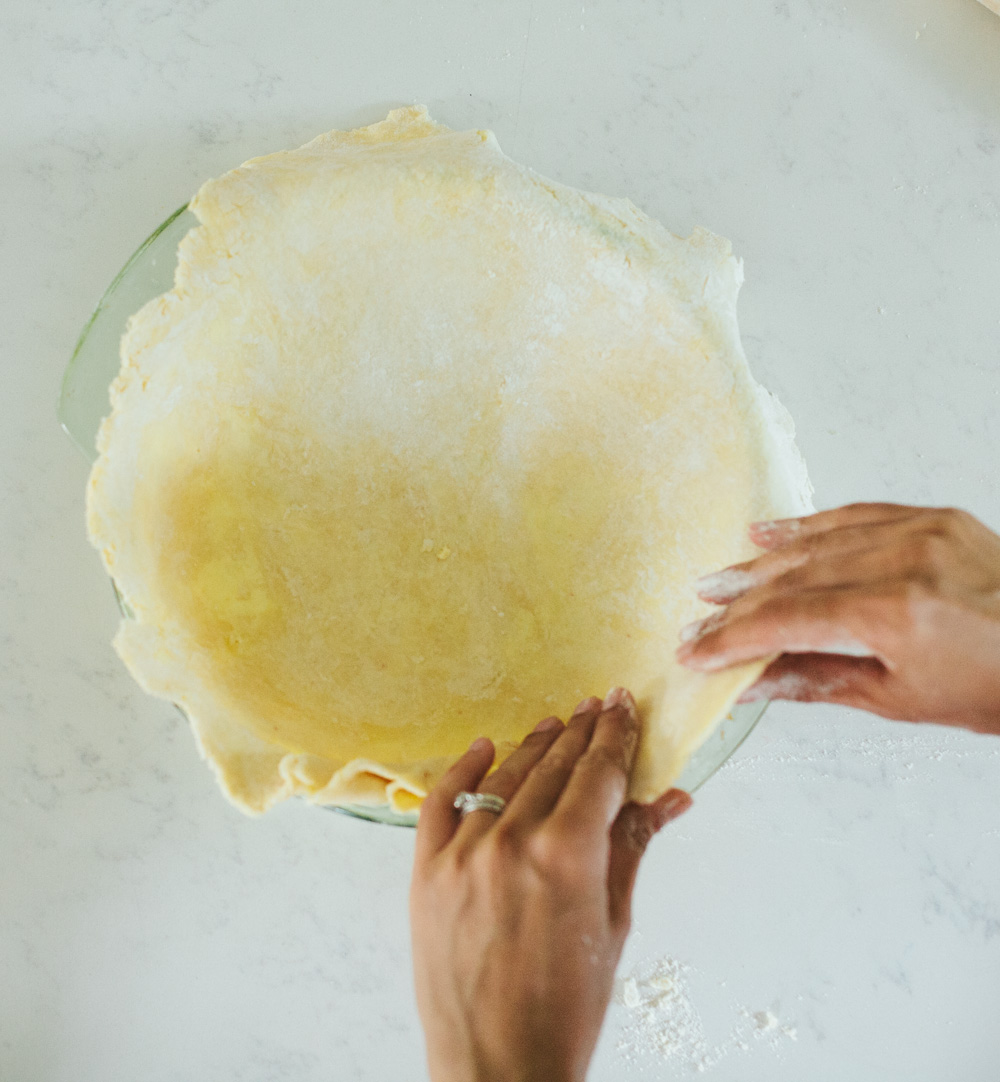
- Press the dough into the plate, crimping the edges as desired. Set this prepped pie crust in the fridge while you make the filling.
The Pumpkin Custard Filling
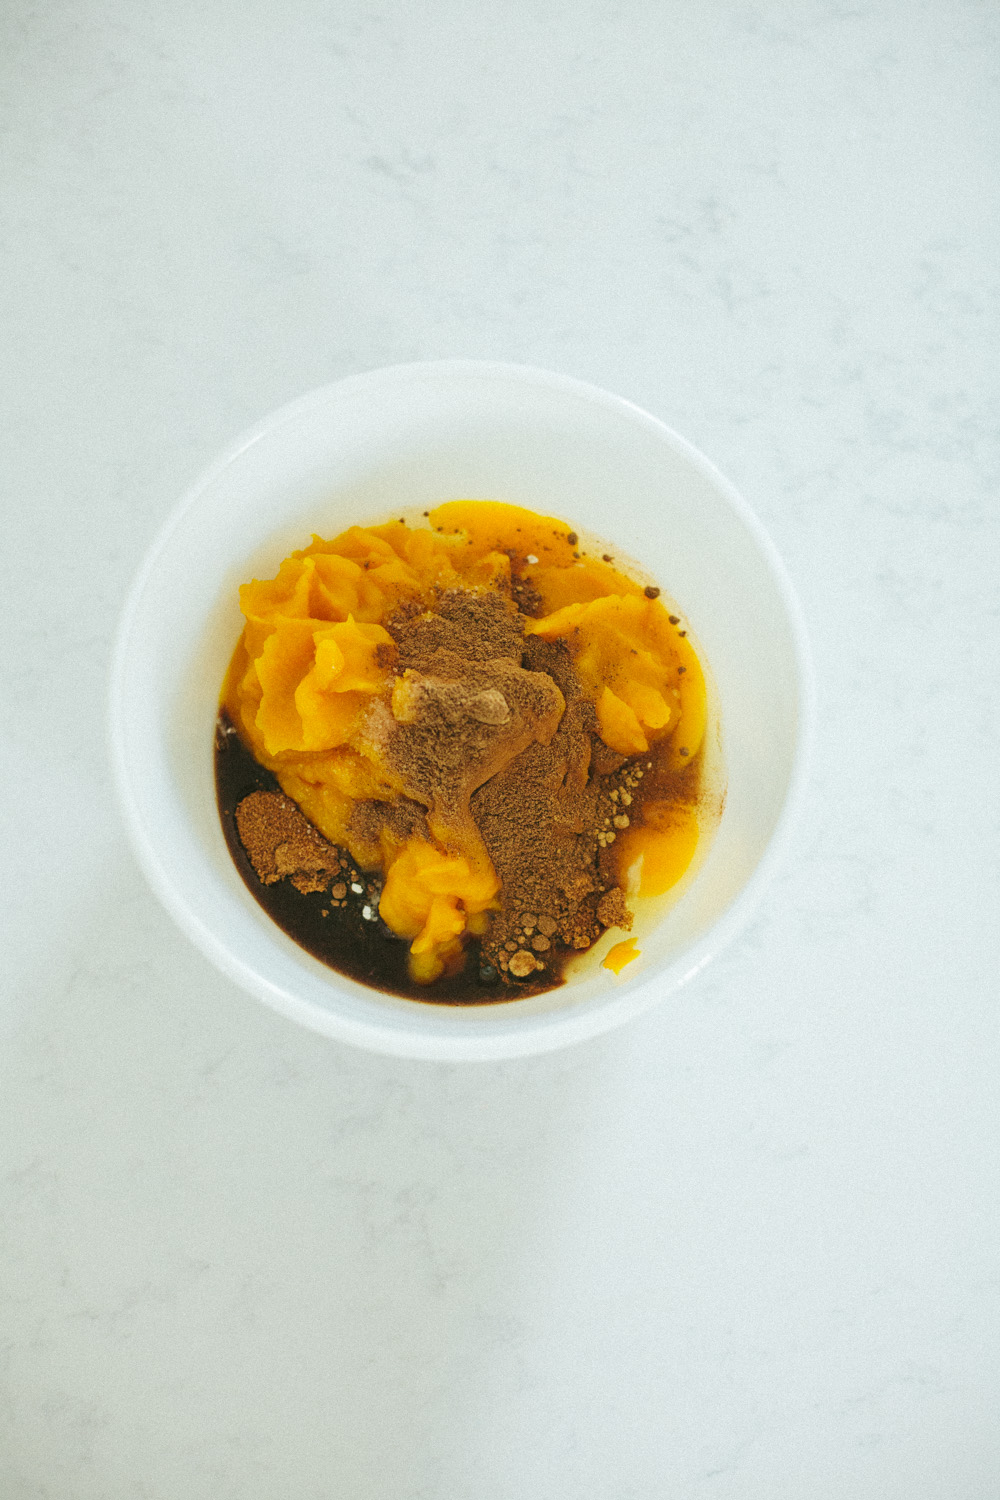
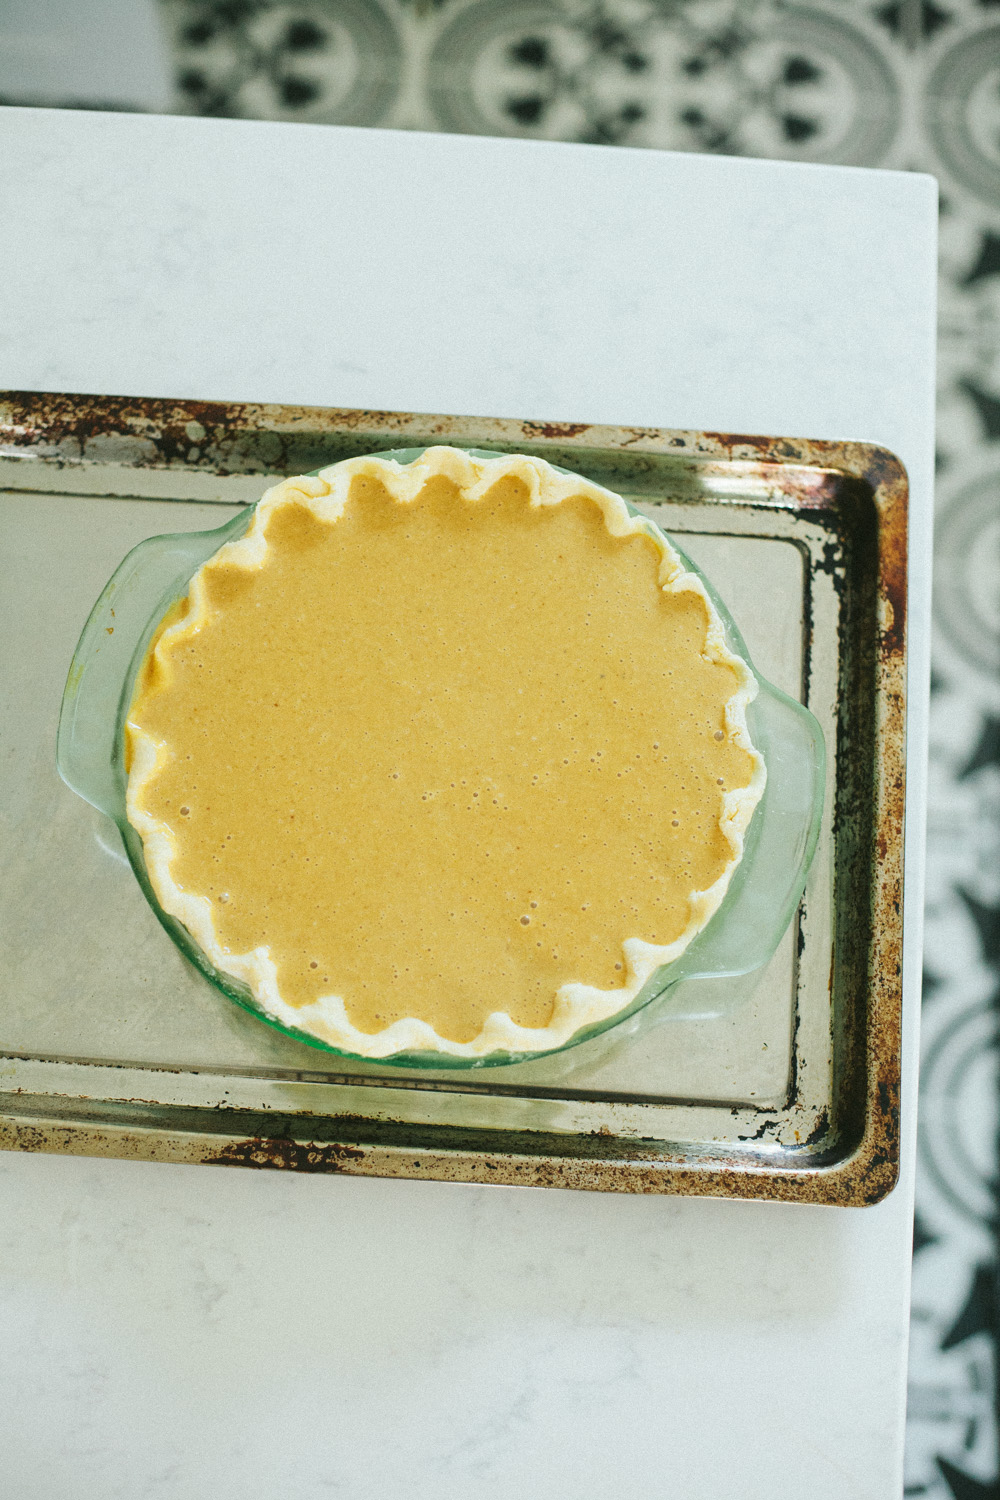
Last but not least is the simplest and easiest part of making this favorite pumpkin pie: blending up the filling. In a large bowl, you combine pumpkin purée with (coconut) sugar, eggs and small amounts of flour, spices and salt. Stir in a cup of heavy cream and pour the whole mixture into your prepped pie crust.
Set the pie dish on the middle rack of your oven, and set a rimmed baking sheet on the rack below it, just in case of spillage. Bake at 450F for 10 minutes, then 350F for 30 to 45 minutes more (or until a toothpick inserted in the center comes out clean).
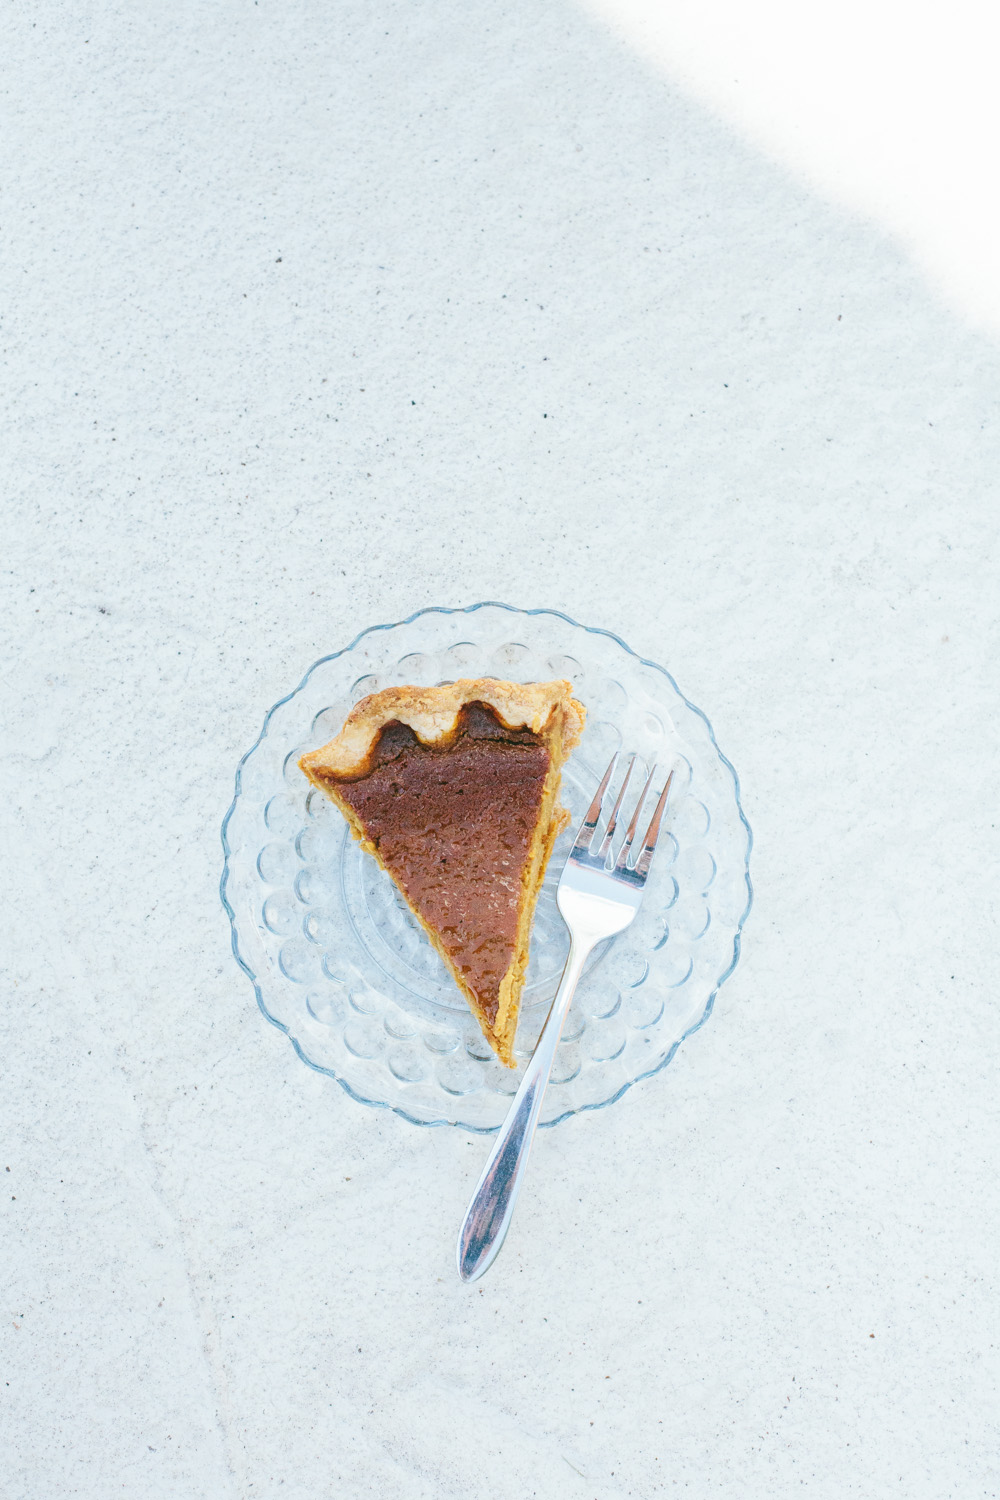
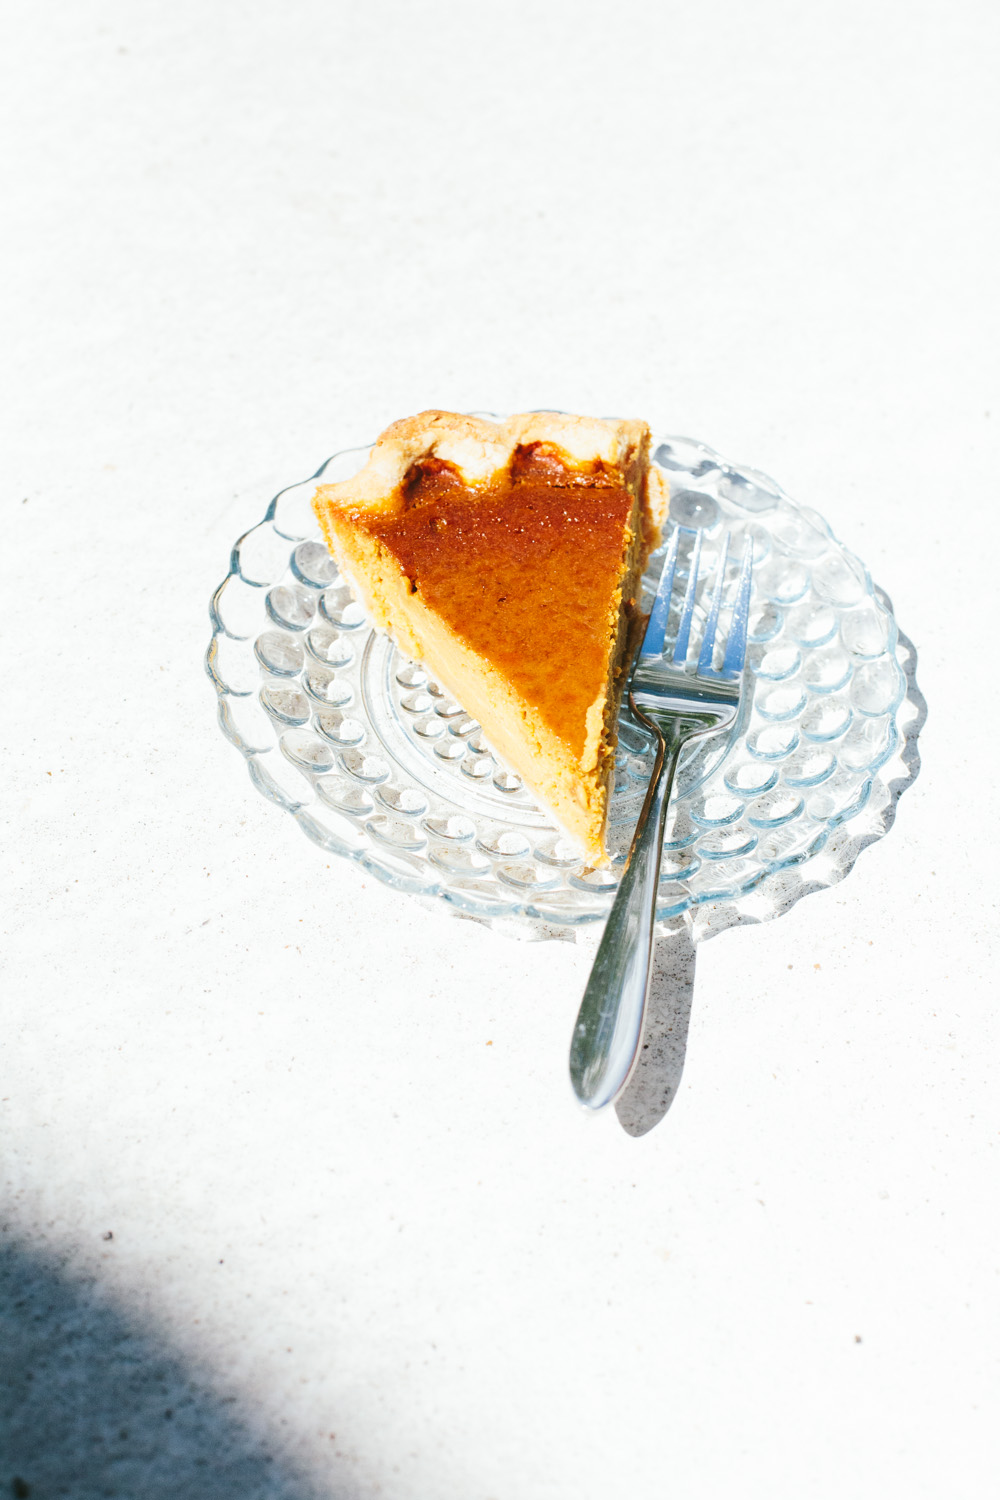
Let it cool slightly, cut a slice and repeat until the pie is gone. (It might not be long!)
Then, do it again.
And again.
Hey, it’s only September, fall’s just getting started, now’s the perfect time to start pumpkin season! You’ll get only encouragement from me.

RECIPE: Favorite Pumpkin Pie with Homemade Purée and All-Butter Crust
Ingredients:
1 unbaked pie crust (recipe below)
2 eggs
1 cup coconut sugar (or your preferred sugar)
1 tablespoon flour
2 cups pumpkin purée
1 teaspoon cinnamon
1 teaspoon nutmeg
1/2 teaspoon each of ginger and fine sea salt
8 ounces heavy cream (slightly under is also OK) (UPDATE: acceptable sub is 4 ounces coconut milk)
Directions:
Preheat the oven to 450F degrees.
In a large bowl, use a stand mixer to combine eggs, sugar, flour, pumpkin, cinnamon, nutmeg, ginger and sea salt until smooth. Mix in heavy cream. Pour mixture into prepared pie crust.
Set pie on middle rack of oven, and set a rimmed baking sheet on the rack below it (in case of drips). Bake for 10 minutes. Lower temperature to 350F and bake for another 45 minutes or, until a toothpick inserted in the center comes out clean.
All-Butter Pie Crust
As explained in the above post, there is some flexibility with this recipe. Once you get the basic feel of pie dough, you can easily adjust ratios and still have your crust work. Likewise if you are partial to a certain crust, by all means, use it here instead.
Ingredients:
1 cup flour, plus more for flouring surfaces
1/2 teaspoon salt
6 tablespoons butter, cold and cubed
1/4 cup water, plus more as needed
Directions:
Combine flour and salt in a bowl. Cut in butter with a pastry cutter or your fingers until it’s broken up throughout. Add in water. Use your hands to push, press and form the mixture into a ball, working quickly. If it’s just too dry to come together, add a little water. If it’s too wet, add flour. Once it’s in a ball, chill if desired.
Grease your pie plate. Flour your counter and set the dough ball on top. Lightly dust the top of the dough with flour and flour your rolling pin. Use the rolling pin to press out the dough into a round larger than your pie plate. Flip it between rolls as desired; this can help keep it from getting too stuck to the counter. Once it’s the right size, roll it up onto your rolling pin. Then holding the rolling pin over your pie plate, unroll the dough onto the pie plate. Press it into the plate, crimping the sides as you wish. Chill pie crust while you make the filling.


3 thoughts on “Favorite Pumpkin Pie”
Comments are closed.