This is part three in a Cook the Cookbook series featuring Margaret Rudkin’s The Pepperidge Farm Cookbook, published in 1963. Also in this series: Intro, Venison Vegetable Soup and Will the Best Pie Crust Please Stand Up?.
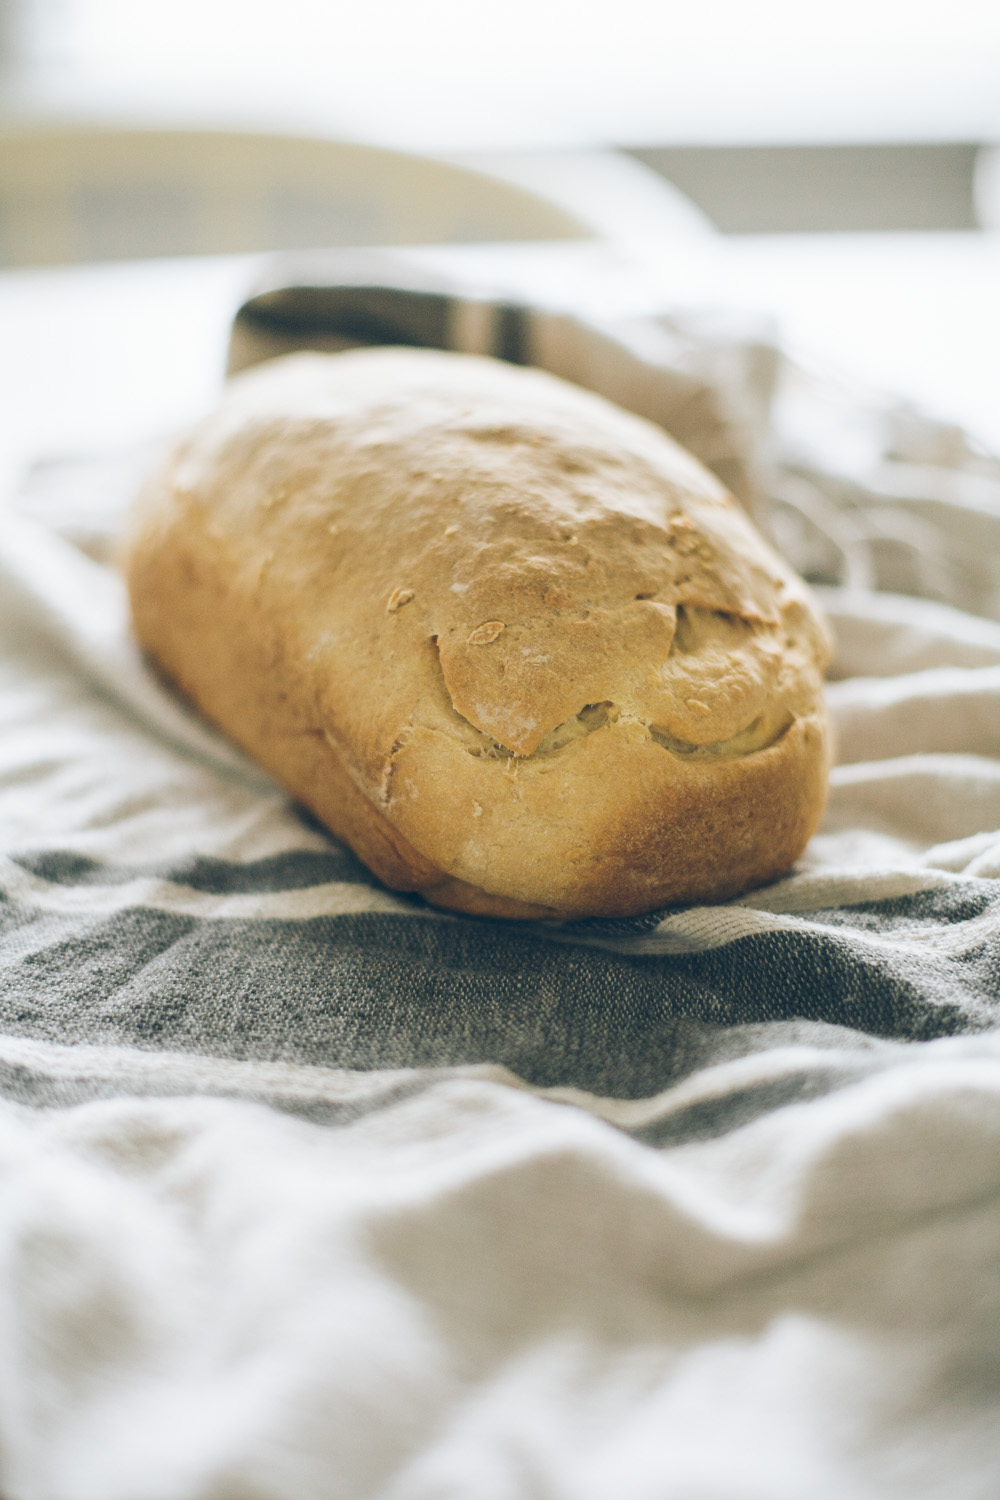
Like most middle-class American children of the ‘80s and ‘90s, I grew up on goldfish crackers, Milano cookies and other foods branded with that famous red banner displaying the Pepperidge Farm name. When choosing a recipe from this third section of Rudkin’s book, however, dubbed “Pepperidge Farm,” I decide to go basic. If bread could grab her doctor’s attention, launch Rudkin’s foray into the food business and be the impetus for a business now known around the world, perhaps it will appeal to me, too.
The first recipe in this chapter, for “white bread,” has only seven ingredients, sits next to a drawing of plated bread and gives simple instructions that don’t take more than a page. Before starting, I hesitate, remembering that it was wheat bread, not white bread, that changed Rudkin’s life. But then I decide to take her own advice to heart:
“I don’t say you must eat only whole-wheat bread,” Rudkin writes on page 208. “Eat some white bread, too, but be sure it is of high quality, made of unbleached flour and other good ingredients, and firm to the touch.”
The same woman who, some 80 years ago, talked her doctor into selling whole wheat bread to his patients is now talking me, via cookbook, into making her white Pepperidge Farm bread. I’ll try it, I determine, if only to see what I find. My husband picks up a bag of organic white all-purpose flour at Kroger, and I open up to page 212, where an illustrated white-and-red-checkered tablecloth holds an image of my goal: golden homemade bread.
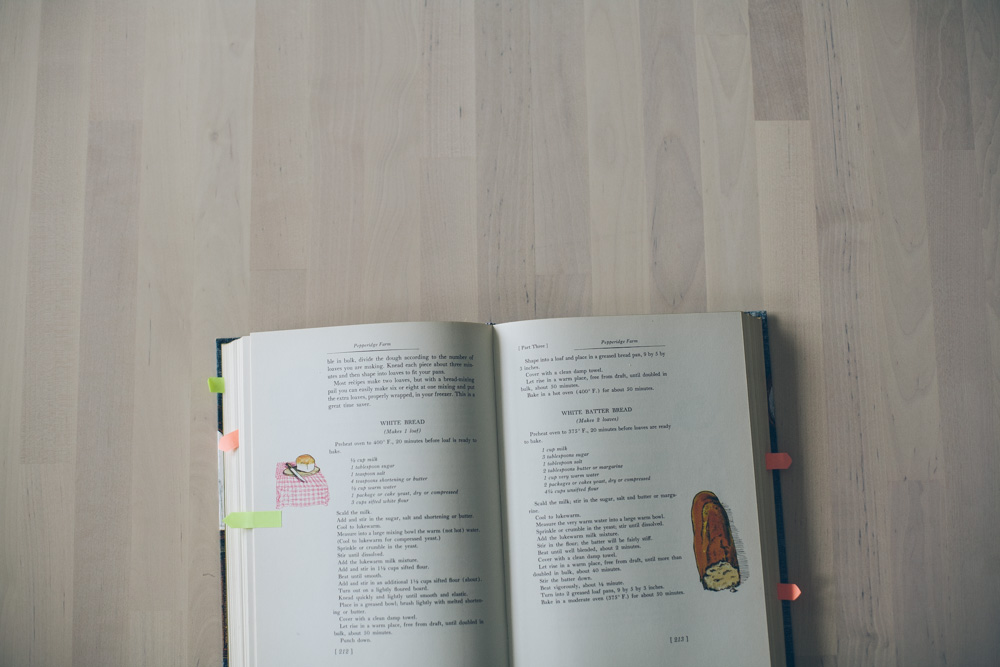
Five minutes later, at the kitchen island, brow furrowed, I wish Rudkin were here, talking to me in the kitchen, rather than simply through typed words on a page. I have questions.
- Why, for example, does the recipe start, above the ingredients even, with directions to preheat the oven 20 minutes before baking? Isn’t this normally included with the other instructions?
- When Rudkin says “knead quickly and lightly until smooth and elastic,” what does she mean?
- Does “quickly and lightly” mean two minutes? Ten?
- “Brush lightly with melted shortening or butter,” the recipe instructs, after it tells you to place the dough in a greased bowl. So when should I melt butter and have it on hand? Before I start?
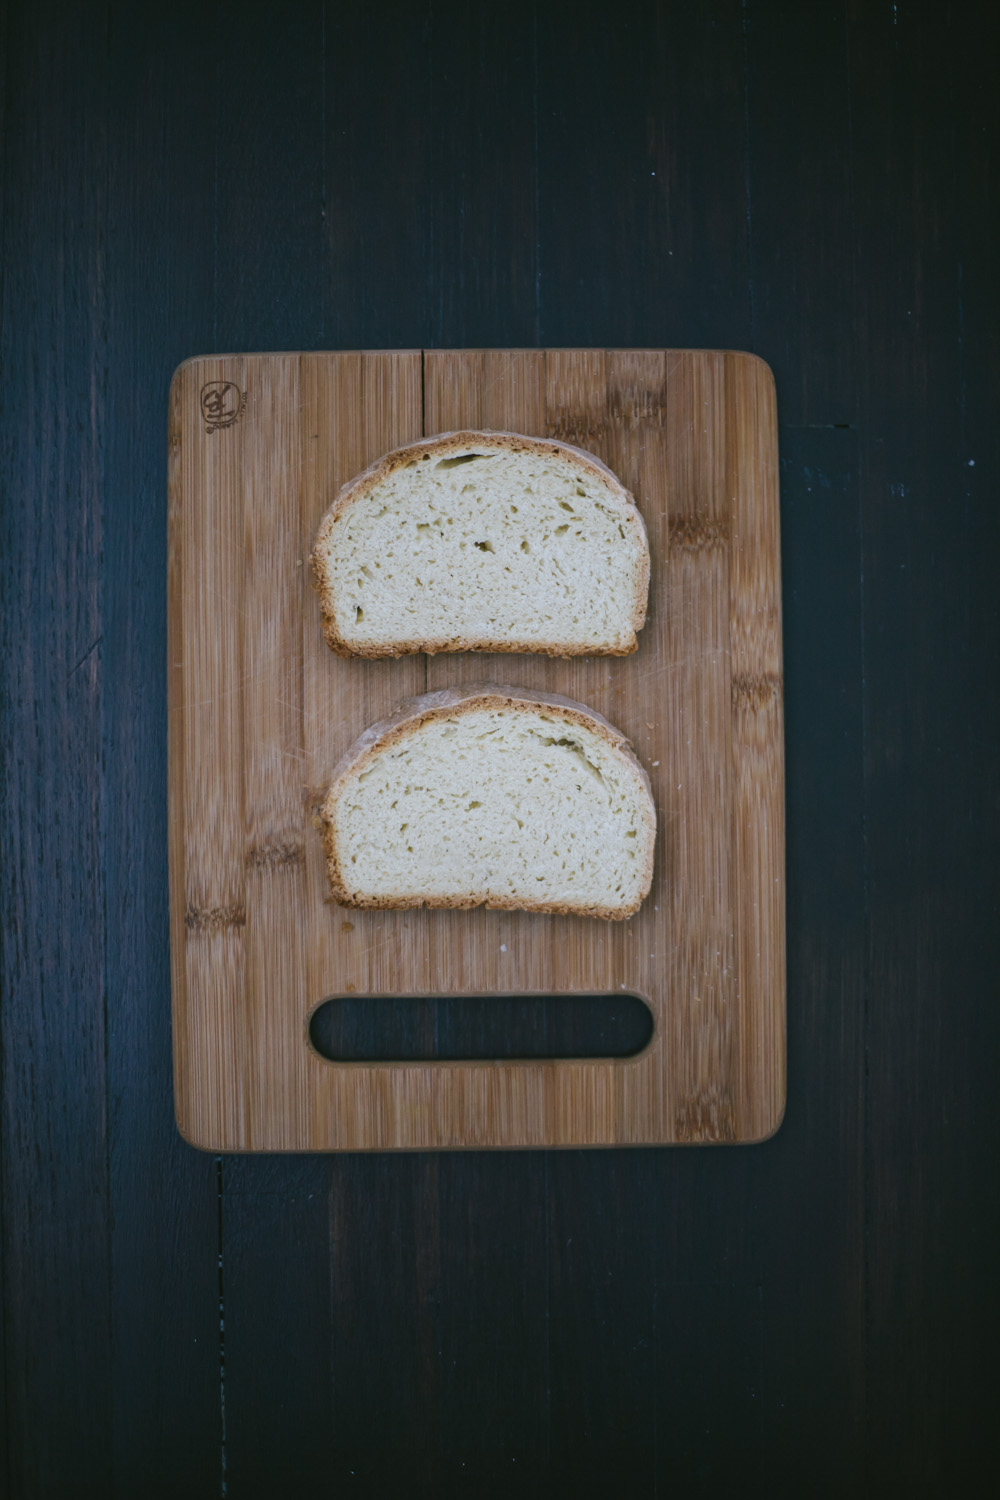
Despite these fitful stops and starts, the dough rises beautifully, the bread effectively bakes into a loaf, and the scalded milk does just what AllRecipes.com video says it should, creating a soft, fluffy easy-to-eat texture, albeit surrounded by a hard, crunchy shell. It’s not a grocery-store loaf of bread I end up with on my first run through Rudkin’s recipe. Still, it’s enjoyable. We could stop here. I could call this recipe a win. But I get thinking.
Bakers know that types of flour yield different results. This, in fact, was one of the primary reasons my husband and I wrote a cookbook a few years ago, The Einkorn Cookbook, to provide tailor-made recipes for working with an ancient form of wheat. Yet I don’t think I’ve ever made the same recipe, multiple times with different flours, to prove it. It’d be interesting to see the differences firsthand, up close, by letting one recipe be the test.
So what if I make Rudkin’s Pepperidge Farm bread a few times? Maybe the first try is all-purpose white flour, but then I do iterations with whole grains such as spelt or einkorn. Would the results be similar? Would the loaves look different, taste different or all of the above?
Fresh from the pie crust experiment a week ago, I decide to take this project on, chronicling the whole experience on Instastories @goeatyourbreadwithjoy.
One Bread, Three Flours: the Forming
On testing day, I start with organic all-purpose flour, following Rudkin’s recipe to the letter. Where she is vague, I improvise: warm water like a good bath; yeast proofed until creamy with a bubble here and there; kneading the dough until it comes together, however long that takes. My finished dough is dry and crumbly, but as this is my second go with Rudkin’s recipe, I expect it will be. Into an oiled bowl it goes, with the timer set to 50 minutes.
The einkorn dough, on the other hand, is soft and elastic. Forming it into a ball is a pleasure, not a fight. Next to the all-purpose ball, it’s a little more yellow, wetter and a smoother ball. It goes in the second bowl.
Last but not least is whole wheat pastry flour, an odd choice for a bread, I’ll admit, but it was what was available in the bulk bins at my Nashville Whole Foods Market. When I form this batch into a ball, it’s less crumbly than the all-purpose, which I did not expect. It’s also heavier and hardest of the three.
One Bread, Three Flours: the Rise
After the first 50 minutes of rising, all three doughs have expanded to some degree. The all-purpose is cracked and crumbly; the einkorn version has spread to all the sides of its bowl; and the whole wheat pastry flour is only slightly larger than it was 50 minutes ago. I punch each one down, form it into a loaf and place it in a loaf pan. Each one gets covered with a damp towel and placed in the oven, turned off, to rise again.
One Bread, Three Flours: the Bake
After another 50 minutes, I pull the loaf pans out of the oven and start preheating it to 400F. I check the balls of dough: the all-purpose bread dough and the einkorn bread dough have expanded to the sizes of their pans, while the whole wheat version is still surrounded by space on all sides. When the oven preheats, I slide them all on the middle rack, side by side by side. Again, I set the timer for 50 minutes.
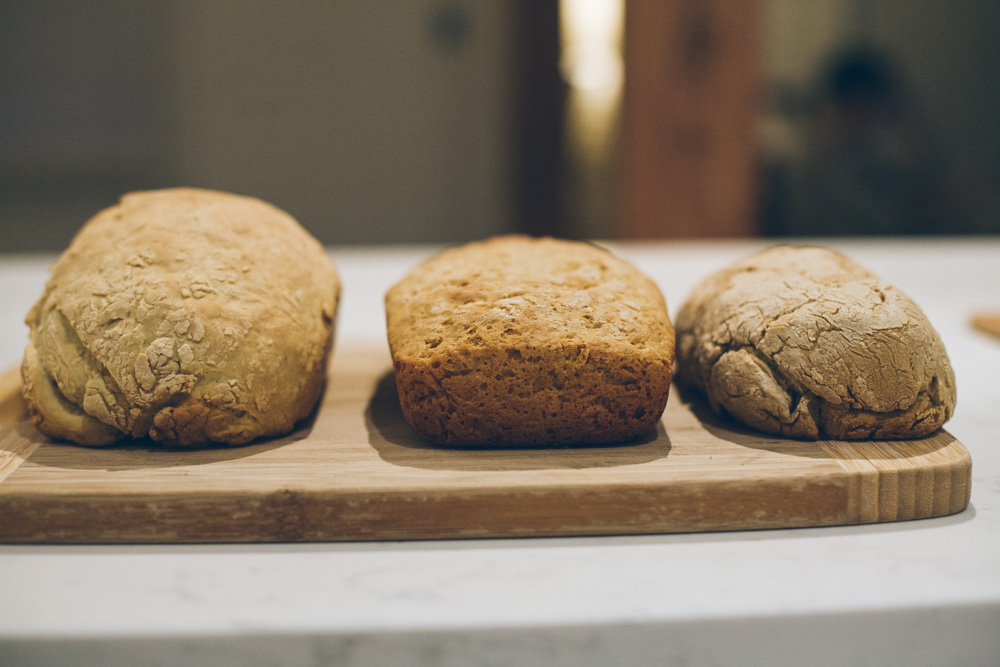
Fresh from the oven, the differences could not be more dramatic. While the all-purpose version baked up domed and golden, the einkorn loaf is flat and square and the whole wheat version is small and oddly shaped. I expected the differences to be obvious, but I don’t know if I expected this.
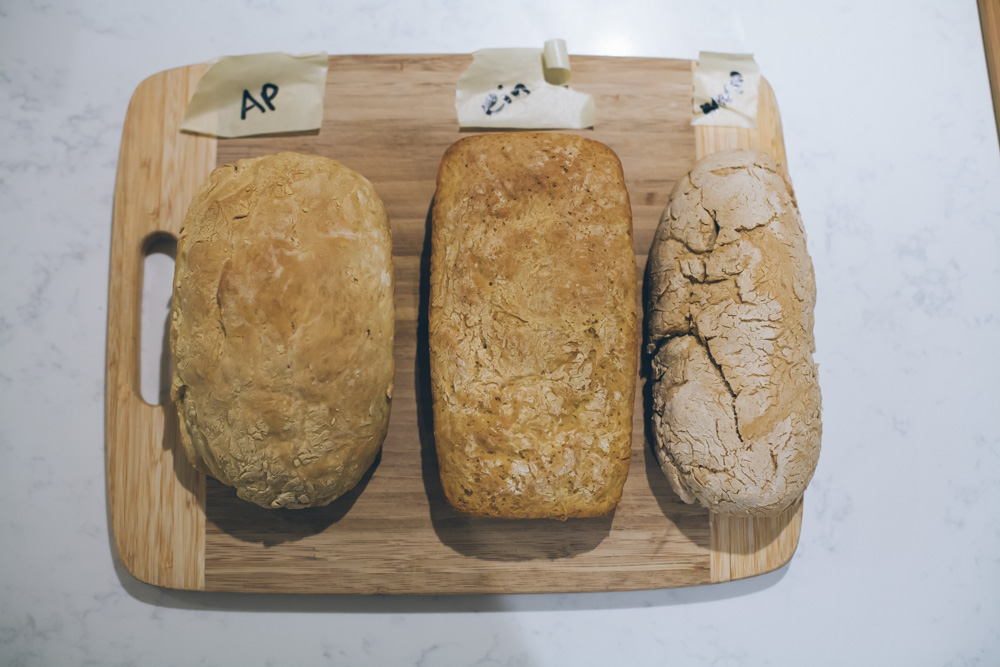
There’s no question here that the flour called for in Rudkin’s recipe works best in her recipe. But what’s equally worth noting is the variations clear in this test:
- Einkorn is wonderful to worth with, soft and pliable, easy to shape; one to one with all-purpose flour, however, it yields a flat, squatty loaf that tastes nice, has a decent crumb but looks strange.
- Whole wheat pastry flour isn’t the best choice for bread. In this recipe, it screams that message from beginning to end. The nutty flavor of its loaf was nice, but the tight density wasn’t.
- Swapping flours one to one in recipes, particularly bread recipes,
does not yield similar results. This is why recipes tailor-made for the type of flour are necessary.
Baking Rudkin’s bread gave me some firsthand exposure to the particularities of different types of wheat. Was it worth it for weeks of homemade sandwich bread? Time will tell.
Margaret Rudkin’s Pepperidge Farm White Bread
Lightly adapted from The Pepperidge Farm Cookbook
Makes one loaf
Ingredients
1/2 cup milk
1 tablespoon sugar (I used coconut sugar), plus more for yeast if desired
1 teaspoon salt
4 teaspoons shortening or butter, plus extra melted butter for brushing dough
1/2 cup water, warmed to the temperature of a comfortable bath
1 package active dry yeast
3 cups sifted white all-purpose flour
Directions
Start by scalding the milk in a small saucepan on the stove. Scalding, if you’re not familiar with it, essentially means bringing the milk just to a boil, stirring often as you do, and then removing it from the heat to cool. In recipes like this one, it’s designed to yield a softer bread.
To the still warm milk, add a tablespoon of sugar, a teaspoon of salt and four teaspoons of butter. Stir this together until the butter melts, and set aside.
In a large mixing bowl, combine the warm water with the yeast and, if you like, sprinkle just a tiny bit of sugar on top. Leave this in a warm place for up to 10 minutes, until the mixture gets creamy, frothy and/or bubbly.
Next, add the now lukewarm milk mixture to the yeast mixture. Stir together.
Add half the sifted flour (1 1/2 cups) and mix together until distributed throughout. Add the remaining flour, mix together and turn the dough out onto a floured surface. Ideally you would do this in a stand mixture; I did it with a spoon. Be prepared to work with the dough a little. You want to knead the mixture together until you can form a ball.
Place the ball of dough in an oiled bowl, brush with melted butter and cover with a clean, damp towel. Set in a warm place to rise for 50 minutes.
After 50 minutes, punch the dough down and pull it out of the bowl. Form it into a loaf. Place it in an oiled loaf pan. Cover with a clean, damp towel and let it rise 50 minutes more.
Preheat the oven to 400F. Bake the bread for 50 minutes.
Next in this series: Healthy Pumpkin Muffins


