
For the 77% of you who, recently polled on Instagram, said you wanted faster ways to make dinner, the Instapot is intriguing. Would it save you time? Should you buy one? To investigate, I borrowed an Instapot 6qt model from a friend for a week. After three dinners, one breakfast, a dessert and some extras, here’s what I found.
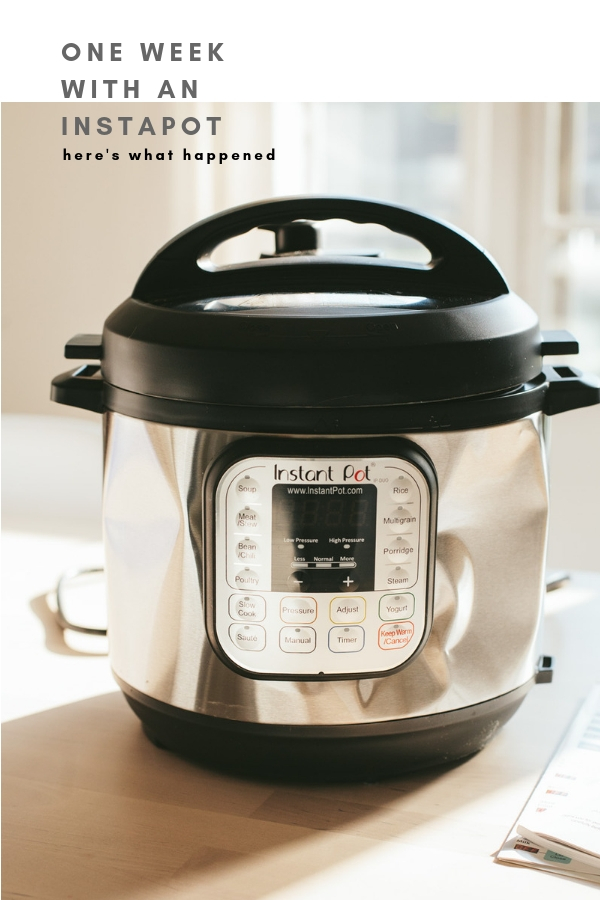
Advertised as a 7-in-1 kitchen appliance, the Instapot is supposed to be the cooking device that does it all: pressure cooking, slow cooking, making rice, making yogurt, sautéing or searing, steaming and warming food. For most people, though, Instapot means pressure cooker, the task the device is most famous for and the one that puts the “insta” in its name. Through controlled steam pressure, the Instapot’s pressure-cooking capability turns tough cuts of meat from frozen to fork-tender in a fraction of normal cooking time. There’s no need to pre-thaw. The bulk of making meals is hands off. This is big because, theoretically, it could mean dinner on the table with less effort, as well as in some cases less time: a real life-saver on busy weeknights.
So why doesn’t everyone own an Instapot right now? What stops most people from pulling the trigger on a purchase? The answer is price: on average, an Instapot (or a similar multicooker) will run close to (or, depending on size, more than) $100. Is it worth it?
After two readers asked versions of these questions on Instagram, I decided it was time to research. My friend Casey loaned me her (until then unused!) Instapot, I looked up some recipes and I recorded everything that happened in the process. Here’s the play-by-play of a newbie’s first week* with an Instapot.
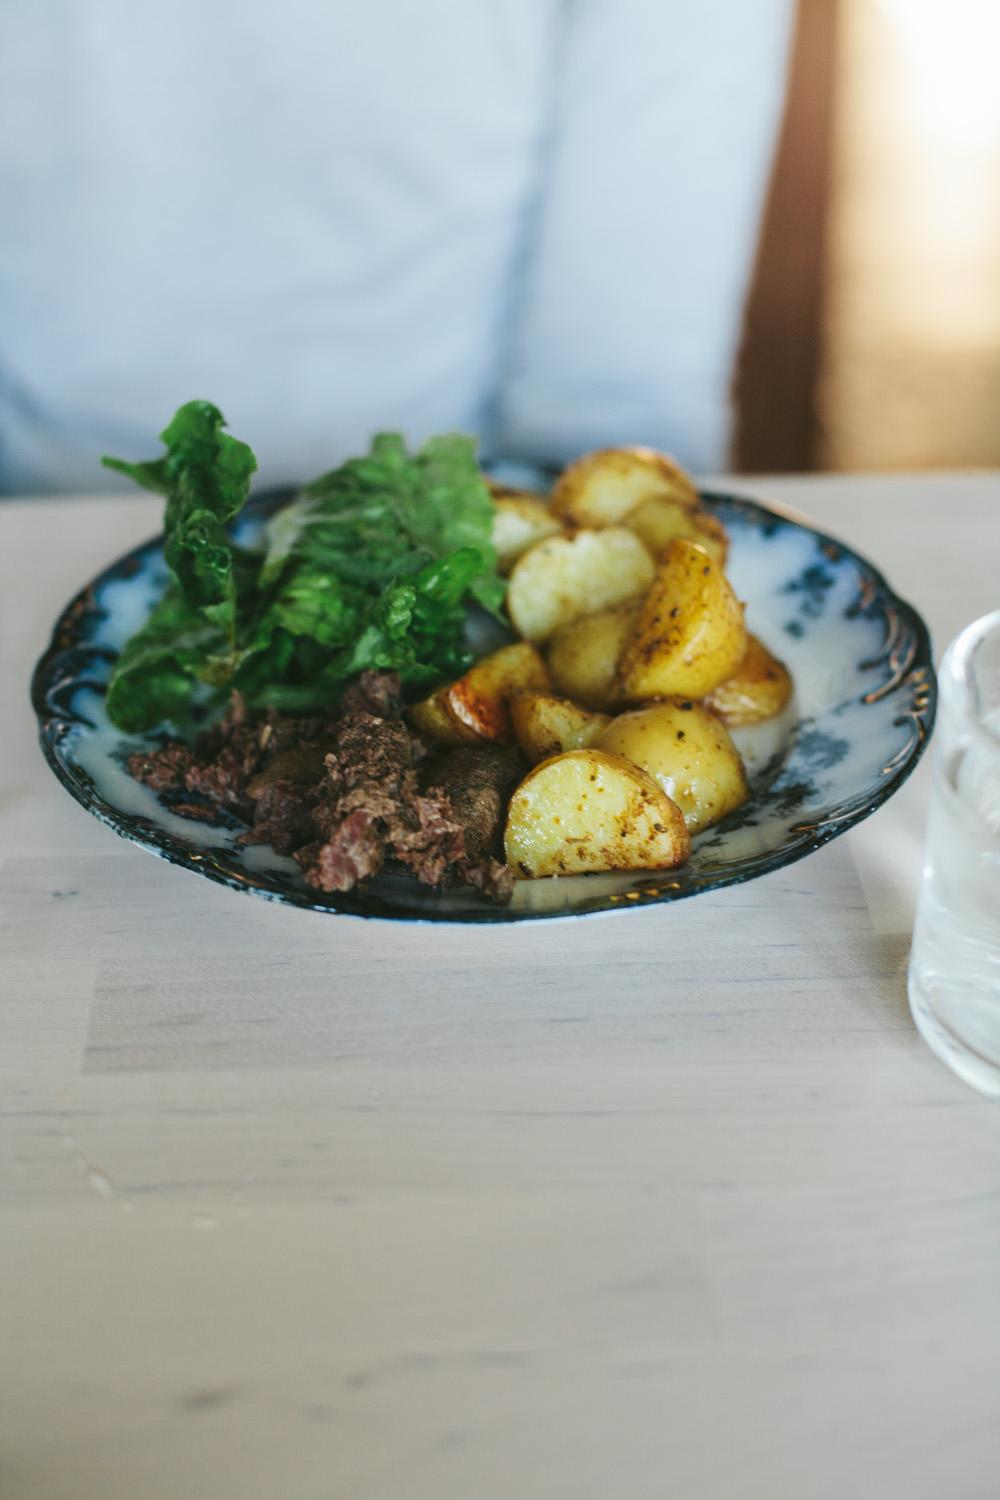
Dinner Day 1: Venison Steak with Almost No Prep
Why this recipe: I start with a recipe that checks two of my own weeknight boxes: (1) It uses up food (a venison steak sitting in the freezer) I already have on hand and (2) it requires a whopping total of three ingredients (adding spices and beef stock to the steak).
The process: I plop the ingredients in the Instapot, hit the “Manual” button on “High Pressure” and set the timer for 90 minutes. Blogger Meredith from Cleverly Simple recommends letting the pressure release naturally when the timer’s done, which adds another 20 minutes to total cooking time, but at least it’s all downtime. Also per her suggestion, I roast some potatoes in the oven during the last 30 to 40 minutes of cook time and end up serving everything with a simple salad.
Time: Close to two hours total cooking time, but almost no prep.
Pros: The fastest dinner prep (a few minutes) to yield fork-tender meat. Not having to thaw the meat first. Even adding potatoes and salad, a total 15 minutes work to make the meal.
Cons: Long cooking time–isn’t the Instapot supposed to make finishing (not just prepping) dinner faster?
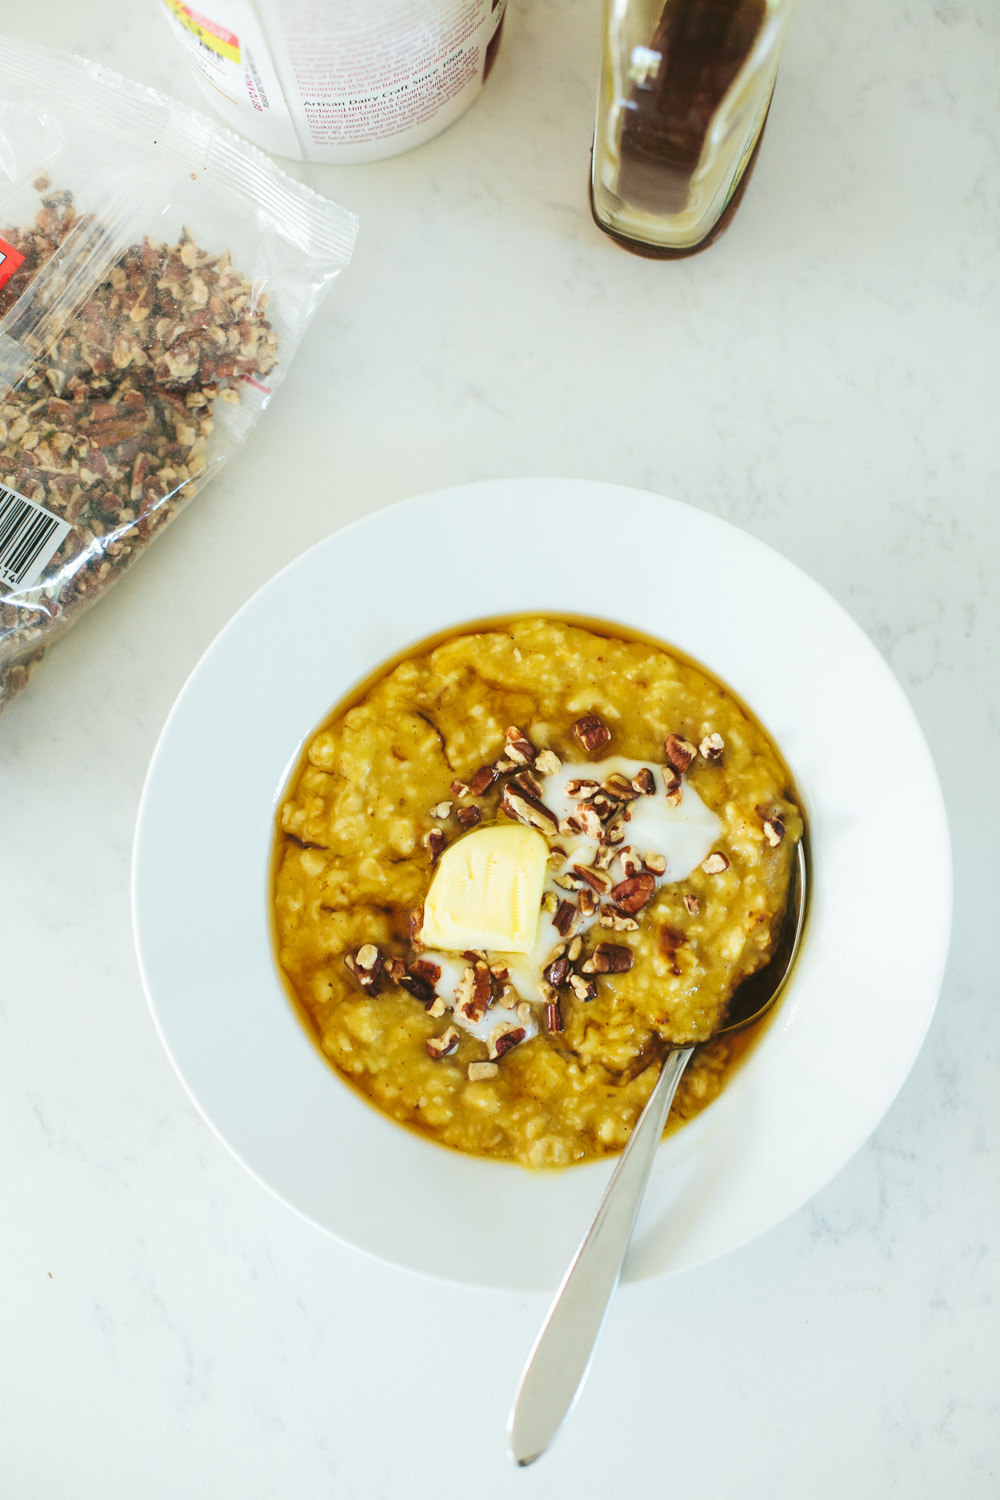
Breakfast Day 2: Pumpkin Oatmeal with 4-Min Cook Time
Why this recipe: It’s October, so: pumpkin. And on this particular morning, oatmeal sounds good, but I don’t feel like standing by the stove. Enter the Instapot. Can it make morning oats simpler? I have to do some hunting to find a version with rolled oats (what I have on hand) instead of steel-cut, but the blog Food: Under Pressure has it covered.
The process: Dump everything in the Instapot, stir, set the timer. It’s through this recipe I learn what QPR (quick pressure release) is: a way of manually forcing the pressure to release when cook time ends, louder and faster than the natural method. While it’s scary the first time you do it (use a towel or a pot holder and step back!), it finishes the food faster. Instead of waiting 20 minutes for the pressure to release naturally, I wait just a minute or two to see the the float valve (small silver piece next to the venting valve) drop.
When I open the lid, I first think the recipe’s failed: the pan’s scalded and the oats are still filled with liquid. A few stirs and some scooped into a bowl later, however, I change my mind: this oatmeal is looking good.
Time: I spend 4 minutes putting everything in the Instapot, it takes the pot 10 minutes to pressurize and 4 minutes to cook the oats. All in all, less than 5 minutes of hands-on time and 20 minutes to breakfast. Not bad.
Pros: I love the spiced, seasonal take on oatmeal, especially decked with pecans, butter and maple syrup. The oats ended up being perfectly cooked: soft but not mushy. Pulling it together was fairly mindless and quick.
Cons: While the process was simple, I’m not sure it was that much easier than setting a pot on the stove. If I wanted to make oatmeal another morning, would I want to pull out an Instapot?
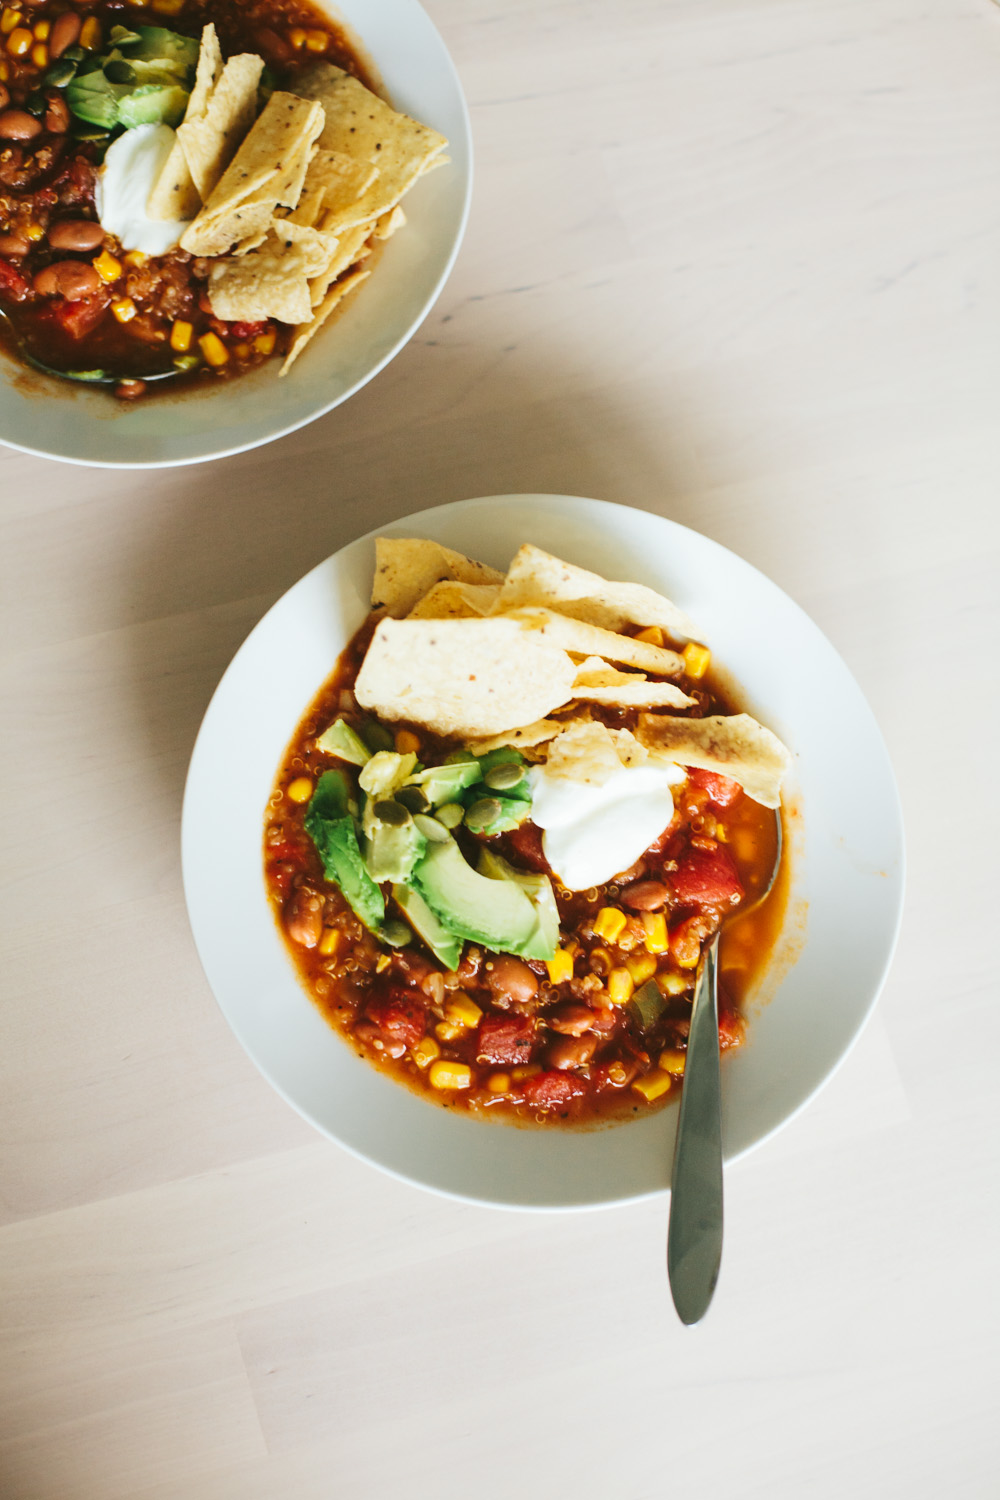
Dinner Day 2: Instapot Taco Soup from 101 Cookbooks
Why this recipe: I’ve already made (and loved!) Heidi Swanson’s quinoa taco soup, using a traditional pot on the stove, months ago. Testing the Instapot version (which the stovetop version was converted from) gives me a chance to compare. Bonus: as a vegetarian recipe, this soup showcases the fact that the Instapot’s here for more than meat.
The process: Use the Instapot’s “Sauté” function to sauté onions and garlic in olive oil, then add all the rest of the ingredients, close the pot and set the timer for 10 minutes. When the timer dings (20 minutes later, including the initial pressurizing/warmup period), use the QPR button to be done.
Time: About 40 minutes total. Only half of that was hands on.
Pros: The soup is spicy and flavorful, a great vegetarian dinner. Making it was easy and convenient: only one pot to clean up.
Cons: Making this in the Instapot felt fairly identical to making it on the stove, both in terms of time and effort. Did I need the Instapot?
Dessert Day 2: Quick Apple/Pear Crumble
Why this recipe: I have no photo of this evening dessert, based off a recipe from Center Cut Cook, but that’s only a testament to how quickly it was gone. It’s also simple enough that I’ll willing to throw it together after the chaos of eating dinner and cleaning up with two children, and that’s saying a lot.
The process: Fill the bottom of the Instapot bowl with five chopped fruits (I do 3 apples and 2 pears). Mix a crisp mixture to scoop on top. Set the machine to “Manual” for 8 minutes.
Time: Close to an hour. 10 minutes prep, 10 minutes pressurizing, 8 minutes cooking and 20 minutes natural pressure release.
Pros: Chopping fruit for 10 minutes was seriously the only active work. Here we have a recipe that’s the definition of easy: throw it all in the pot and go do something else.
Cons: There’s no pretending this is fast food.
Dinner Prep Day 3: Perfect Rice Now This Is Something
Why this recipe: I’m planning butter chicken for this day’s dinner and want to make rice before I cook the entree. I could make rice on the stove while the chicken cooks, but prepping ahead gives me a chance to try the Instapot’s “Rice” button, and I’m curious.
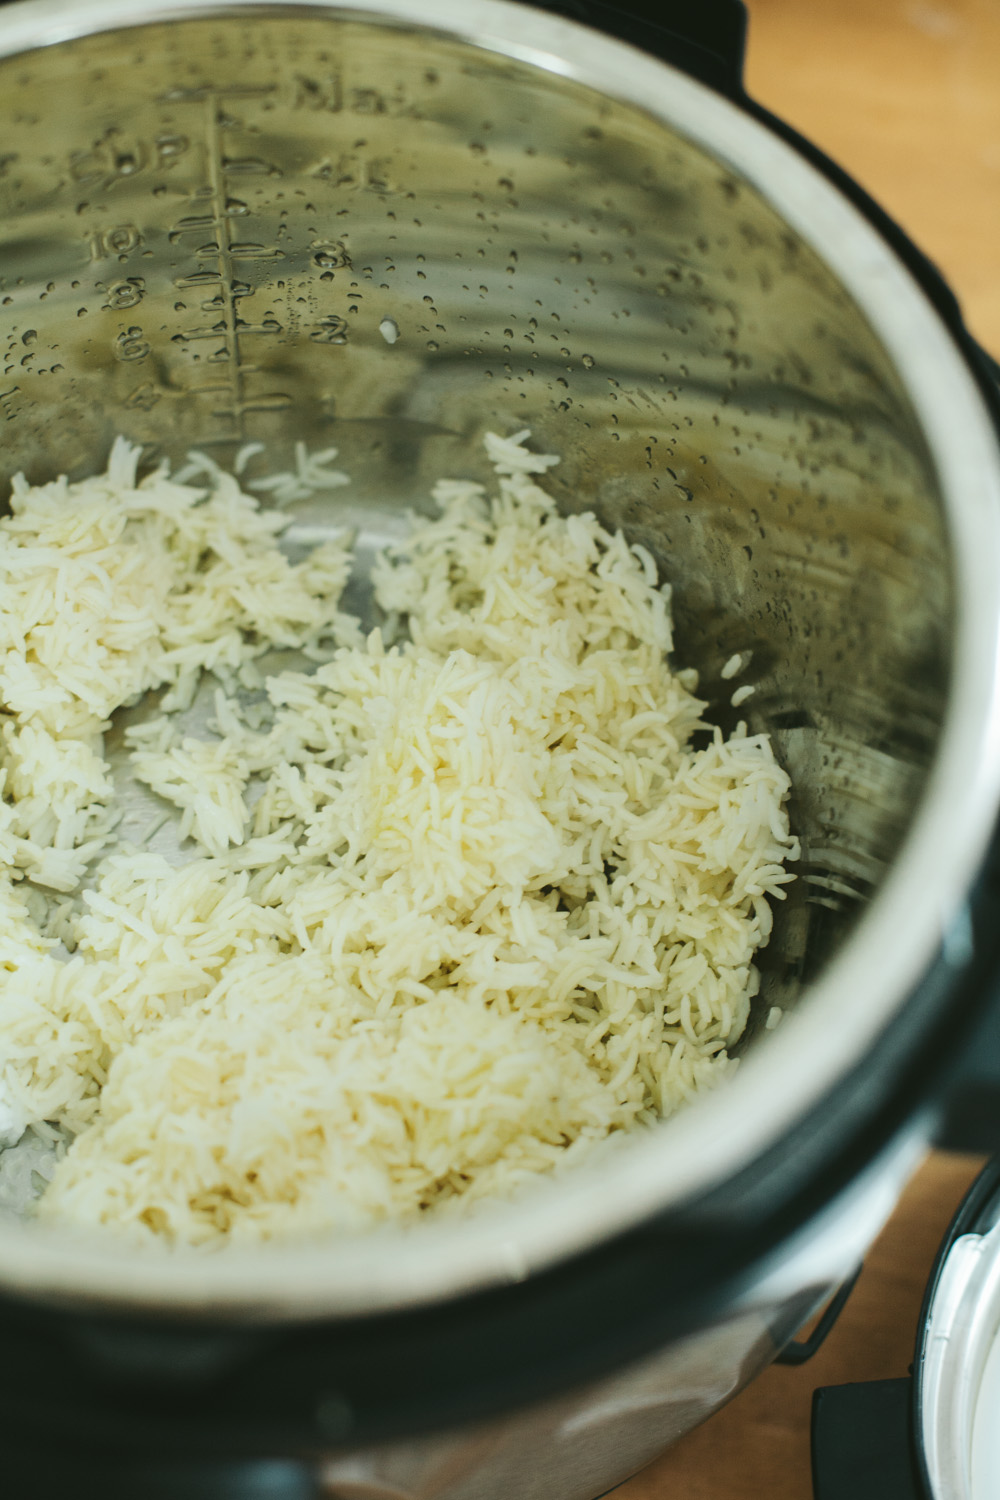
The process: I have a foolproof stovetop rice method I love, but this Instapot process from Platings and Pairings gives it a run for its money. Combine a cup of (rinsed) rice with a cup of water and a tablespoon of oil, a little salt to taste. Hit the “Rice” button and let the machine release pressure naturally when the timer dings.
TIme: The built-in Rice program says 12 minutes and I’m so busy not watching rice cook that I don’t even notice how long the pot pressurizes beforehand. Was it 22 minutes total? 30? Either way, it was one of the best rice-cooking experiences I’ve had.
Pros: I am amazed to find perfectly cooked, firm yet tender, white rice waiting for me when I open the lid. There was no skill involved: just combine ingredients, set the machine and wait.
Cons: I guess that you have to make the rice before the rest of dinner? Honestly, this recipe was 99% pro.
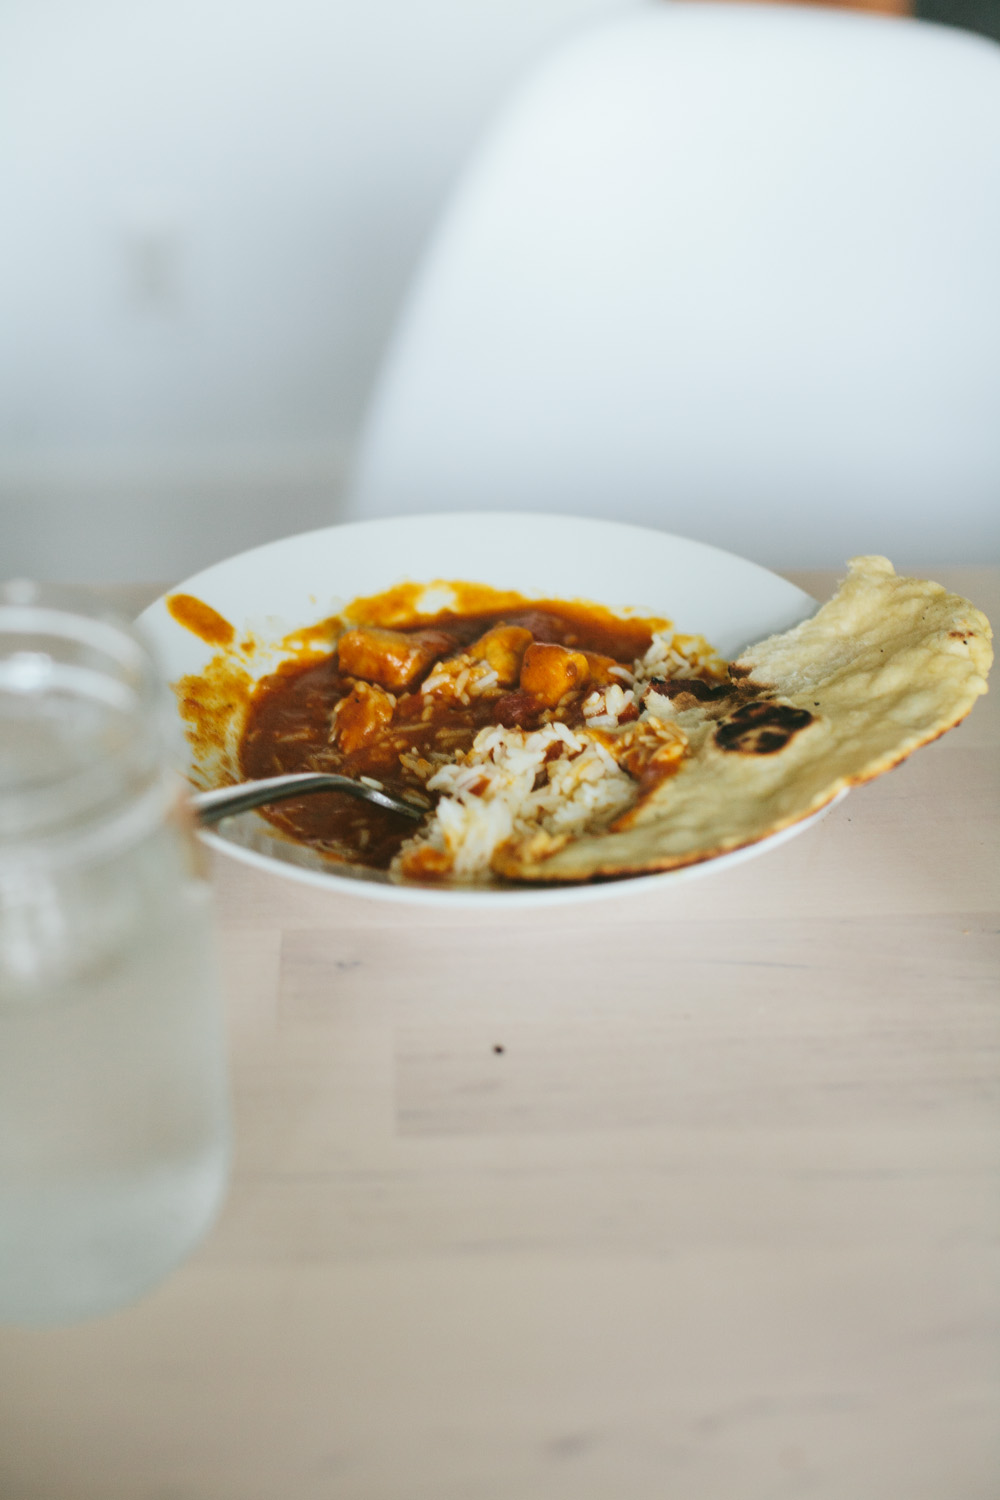
Dinner Day 3: Butter Chicken That’s As Good As Any I’ve Made
Why this recipe: Butter chicken’s a staple in our house, one that’s been made dozens of ways and dozens of times. If the Instapot can do this too, my household wants to know.
The process: For this recipe from Damn Delicious, you use the Instapot “Sauté” button to cook chopped onion (and a bell pepper, but I forgot to buy one, and I leave it out) in oil until soft. Add spices and garlic. Add tomatoes, chicken stock and chicken. Close the machine, click “Manual” on “high pressure” and set the timer for 10 minutes. Use the QPR when the timer dings. Stir in a mixture of cream (I used coconut milk) and flour with the machine back on “Sauté,” and serve.
Time: The first 30-minute meal!
Pros: This recipe was legitimately spicy, tangy and comforting the way the best butter chicken recipes are. Even better, it came together quickly and had dinner ready in half an hour.
Cons: You’ll spend a good 10 minutes chopping and cooking vegetables, and then you’ll need to clean up while the Instapot starts cooking, so there’s about 15 minutes active time. That said: 15 minutes for homemade takeout! If I owned an Instapot, I would definitely make this one again.
Day 4 Bonus: Pumpkin Pureé with the Instapot
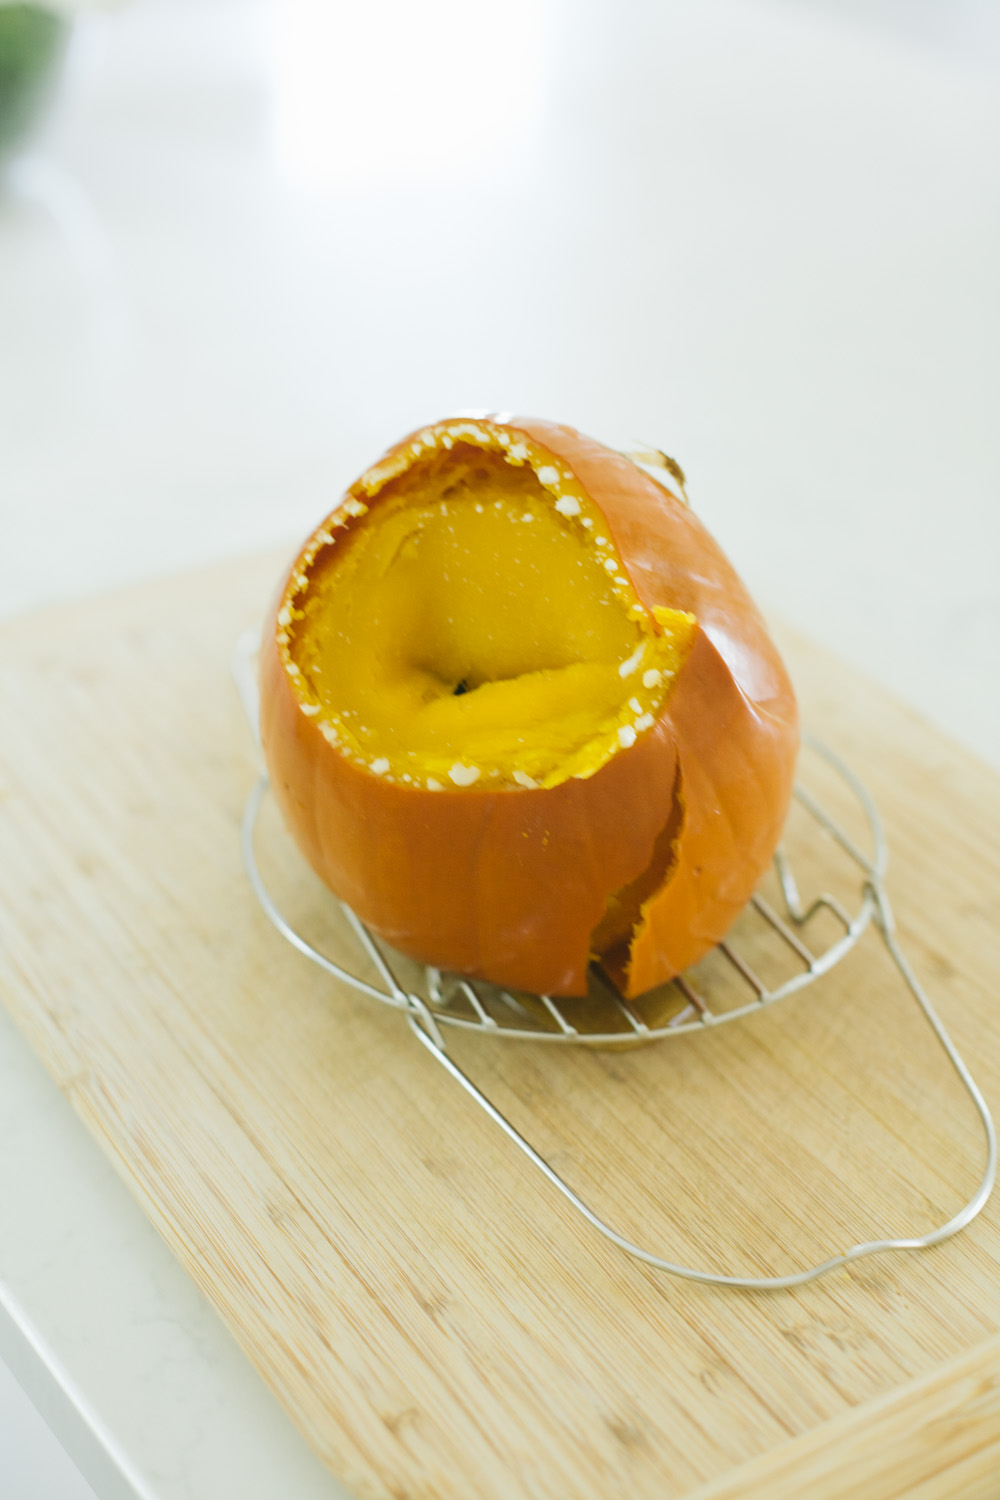
Why this recipe: Until now, all the recipes I’ve tested in the Instapot are standard insert-into-pot instructions. There’s a whole world of options out there, however, involving the Instapot’s included trivet/rack. You can set the rack inside the bowl and add a springform pan of cheesecake, a pyrex with a chocolate lava cake or, in this cake, a pie pumpkin with the stem cut off. I wonder how this will fare.
The process: Fill the Instapot container with a cup and a half of water, add the rack, set a pie pumpkin on top. If your pumpkin is especially small, you don’t have to cut off the stem; mine won’t fit unless I do. Set the machine on “Manual” and “High Pressure,” and set the timer for 13 minutes. Let the machine release pressure naturally afterwards.
Time: 10 minutes to pressurize, 13 minutes to cook and, here again I don’t stand around to notice how long the pressure release takes. Note to self: when you set the Instapot, you really are free to go do something else. All in all, it was somewhere between 35 and 45 minutes.
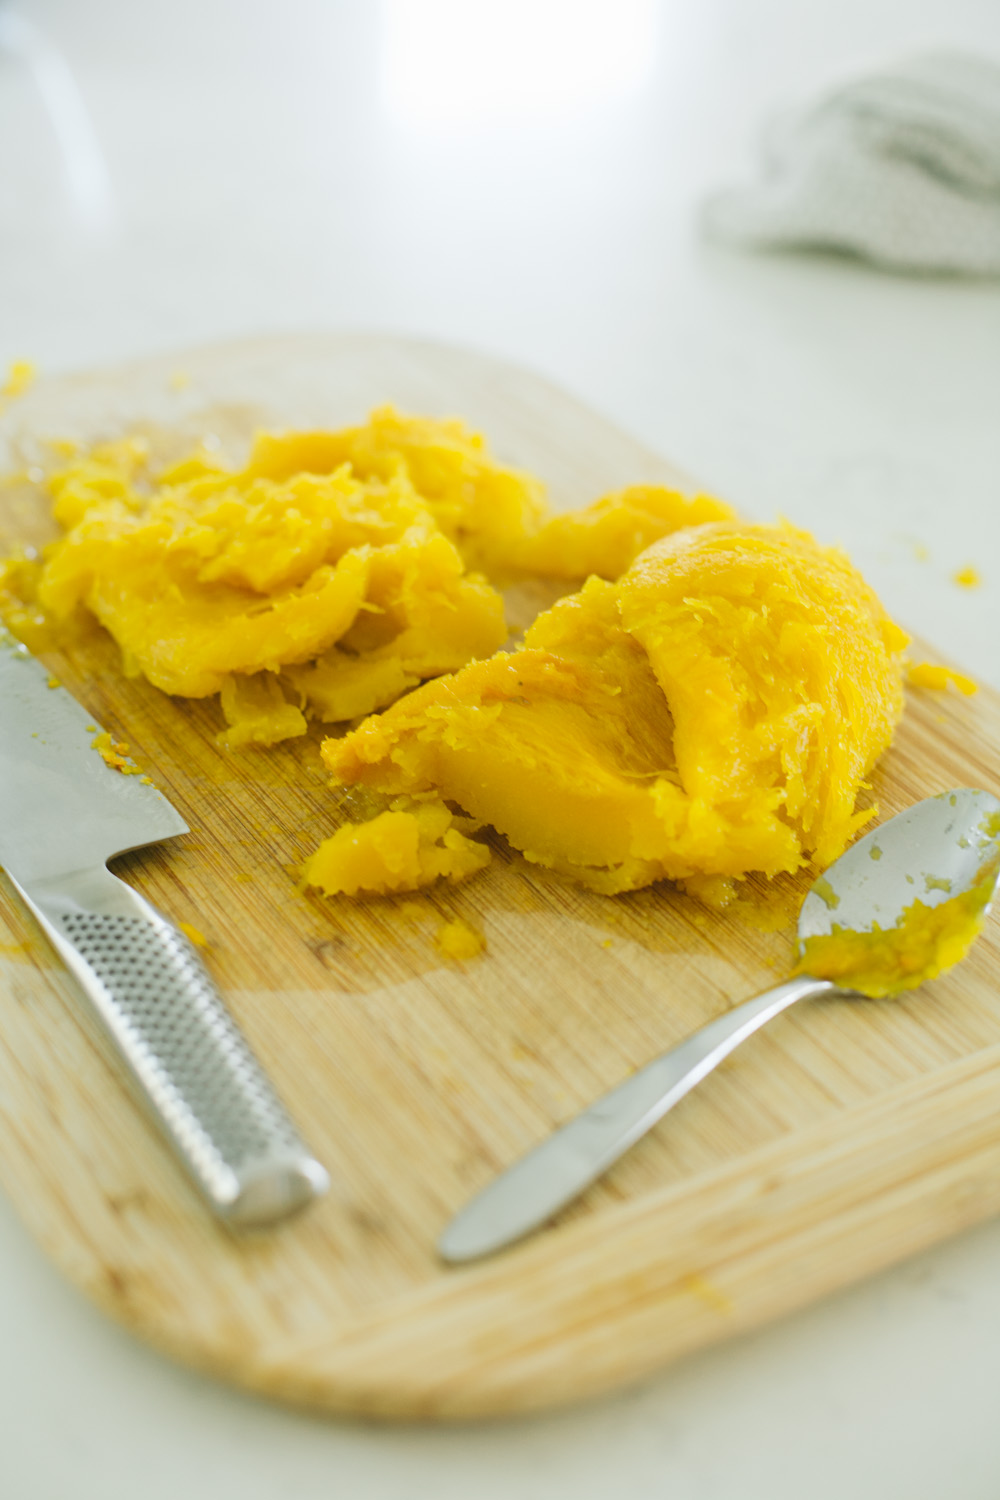
Pros: I’ll admit it’s nice to be able to make homemade pumpkin pureé without turning on the oven. The process is easy. Afterwards, there’s not even much to clean.
Cons: Pressure-cooking a pie pumpkin is not exactly the same as roasting it. Yes, you’ll get the gourd soft enough to scoop out flesh and pureé it; it’s easy and it works. Emerging from the Instapot, however, the pie pumpkin is limp and pathetic, awkward to cut and certainly less magical than a halved pumpkin on a baking sheet. I’m ambivalent.
Conclusions
As someone who works from home and has no trouble keeping a pot simmering on the stove while I write articles or do laundry, the idea of the Instapot didn’t initially appeal to me. Why would I need another cooking appliance? What does it do that a crockpot can’t? What’s the big deal? After a week of testing recipes, however, I’ll admit some selling points, whether or not you’re the type who’s home all day.
- The Instapot has a slow-cooker function, so it could effectively replace my crockpot if I wanted to save space.
- Making meals in the Instapot can be easier than making meals traditionally with multiple pots, pans and tools. As with one-pot soups or stews, you can sauté in the same machine that you cook in. Cleanup is so much simpler when it’s one lightweight pot to clean!
- Who doesn’t love downtime? The Instapot is made to maximize your cooking time so you can do a little prep and then walk away while it cooks.
If you’re interested in buying an Instapot, here are some Amazon affiliate links pointing you to a few options. As always, this site may earn a small commission on any purchases made through the links. Or, if you’re still thinking, I’ve got one more resource for you. This post is long enough! Come read another about 4 Misconceptions about the Instapot.
*note: one week is used here generally speaking, as in, I had the Instapot in my possession for a week and used it in the majority of planned meals. I gave it the night off Thursday (an event scheduled) and Friday (standing pizza night).
2 thoughts on “One Week with an Instapot 6qt Multi-Cooker”
Comments are closed.